Build an expression
Using the Item Form Expression Builder
When you create or edit an expression, the Item Form Expression Builder appears. Drag the canvas to pan around and scroll to zoom.
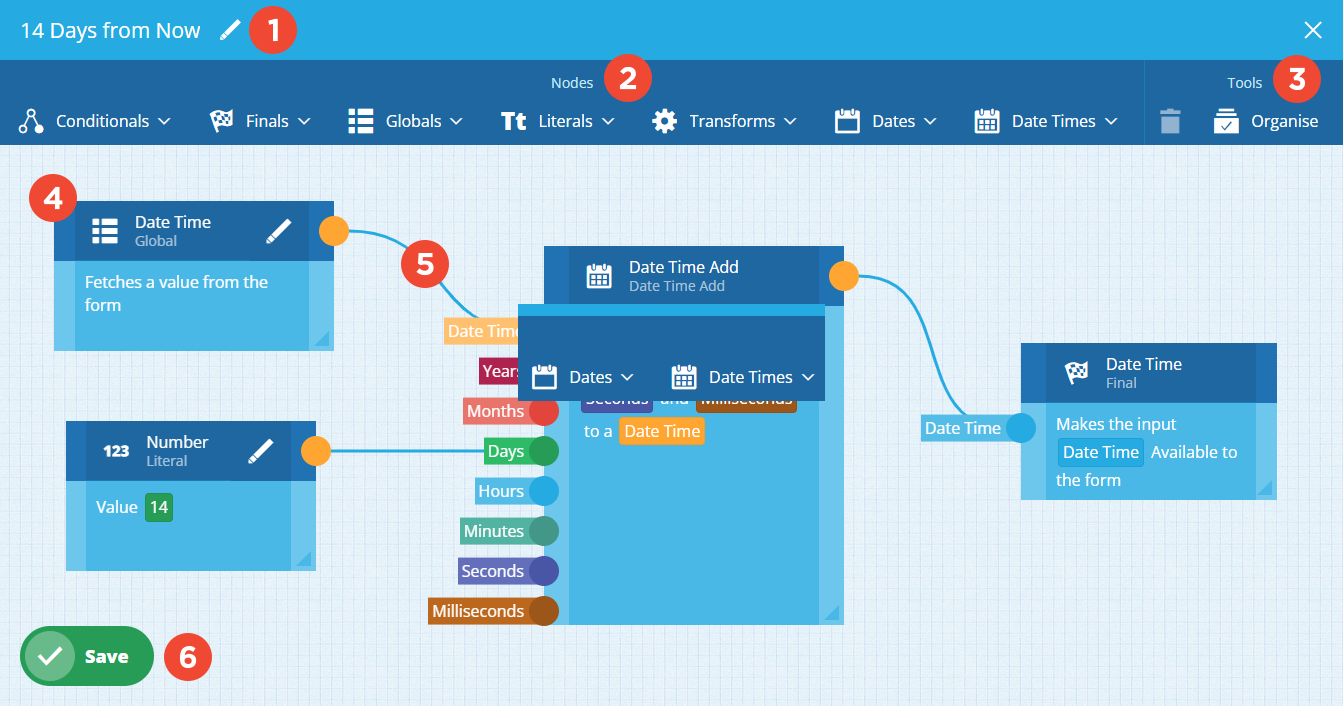
1 Name
To set the name of the expression, select Edit. We recommend making it a concise description of what the expression does, so it can be clearly identified in a list.
2 Node types
Nodes are the building blocks of your expression. Each node represents a function or a value. Values can be static, dynamically linked to a control property, or dynamically linked to a global variable, e.g. the current user's name.
To add a node to the canvas, select a type in the app bar:
-
Conditionals - logical functions that test inputs from other nodes and produce corresponding output.
-
Finals - the expression's output, which will be applied to any control property that targets it.
-
Globals - references to the dynamic value of a control property or a global variable.
-
Literals - static values that you input yourself.
-
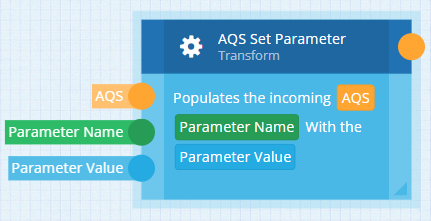
Transforms - functions that modify an input value, producing a new value.
-
Dates - functions for creating or manipulating date values.
-
Date Times - functions for creating or manipulating date and time values.
For the full list, see Expression nodes.
3 Tools
Select a tool in the app bar:
-
Delete - delete the currently selected node or link.
-
Organise - automatically arrange nodes into formation based on how they're linked.
4 Added nodes
Nodes appear on the canvas as purple boxes, displaying their type and a description of what they do. Drag each node into position and use its bottom-right corner to resize it. To set the value of a node, select its Edit button.

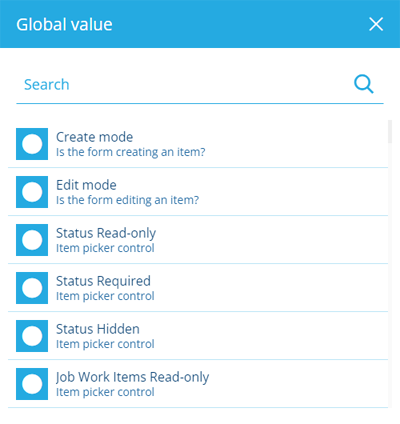
For a Global node, select the field to show compatible control properties and global variables. Choose one to use as a dynamic value.
List of global variables
| Global Variable | Description | Global Node Type |
|---|---|---|
| User Alloy ID | The ID of the current user | Alloy ID Array |
| Item ID | The ID of the item being create/edited | Alloy ID Array |
| Parent item ID | The IDs of any parent items that link to the item being created/edited | Alloy ID Array |
| Create mode | Is the item form being used to create an item? | Boolean |
| Edit mode | Is the item form being used to edit an item? | Boolean |
| Date Now | The current date | Date |
| Date Time Now | The current date and time | Date Time |
| Username | The username of the current user | String |
| First name | The first name of the current user | String |
| Last name | The last name of the current user | String |
| The email address of the current user | String | |
| Customer name | The name of your company | String |
| Item form name | The name of the current item form | String |
| Item form context | The context of the current item form | String |
| Design name | The design name of the item being created/edited | String |
| Design context | The design context of the item being created/edited | String |
| Item icon | The icon code of the item being created/edited | String |
| Item signature | The signature of the item being edited (changes with every edit) | String |
| Item collection | The Guc of the collection of the item being created/edited | IsTriggering |
| Item form code | The Guc of the current item form | IsTriggering |
| Design code | The Guc of the design of the item being created/edited | IsTriggering |
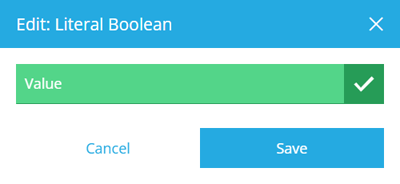
For a Literal node, enter a value. Depending on the node type, either type directly into the field, choose a value from a picker, use the AQS Builder, or toggle the field to indicate true or false.
5 Links
Define your expression by linking the inputs and outputs of different nodes on the canvas:
-
Each node has one or more input circles on their left side. They're labelled to help you understand the type of input expected.
-
Each node has one output circle on their right side (except for final nodes).
To join two nodes together, select an output circle on the first node, and then select an input circle on the second node. When you select a circle, only compatible circles will remain undimmed, so only valid links can be made.
All possible execution paths within the expression should end with a final node.
6 Save button
When you're finished, select Save to save your expression and return to the Item Form Builder. To leave without saving, select in the top-right corner.