Item form layout
Resize and arrange controls
The controls on an item form are automatically arranged into a neat grid formation.
When you add a control, it initially occupies a new row at the bottom (or beneath the currently selected control). You can then resize its width and move it to another row according to your needs. Up to six minimum-width controls can fit on a single row.
Move a row
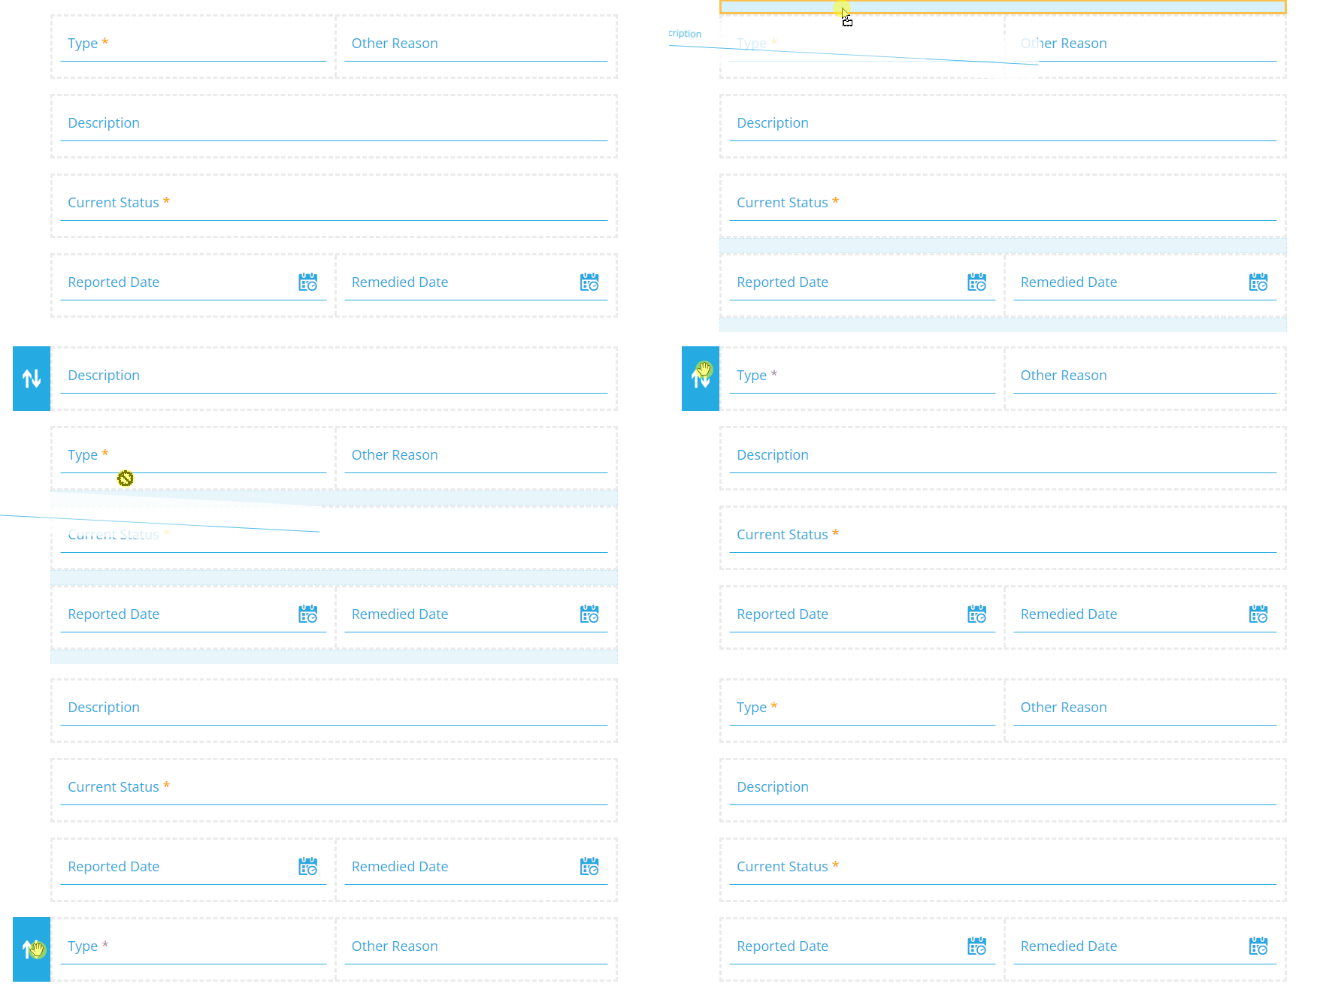
To move a row up or down, hover over it, and then drag its handle to the gap above or below an existing row. Available spaces are outlined in purple as you pass over them.
Resize a control
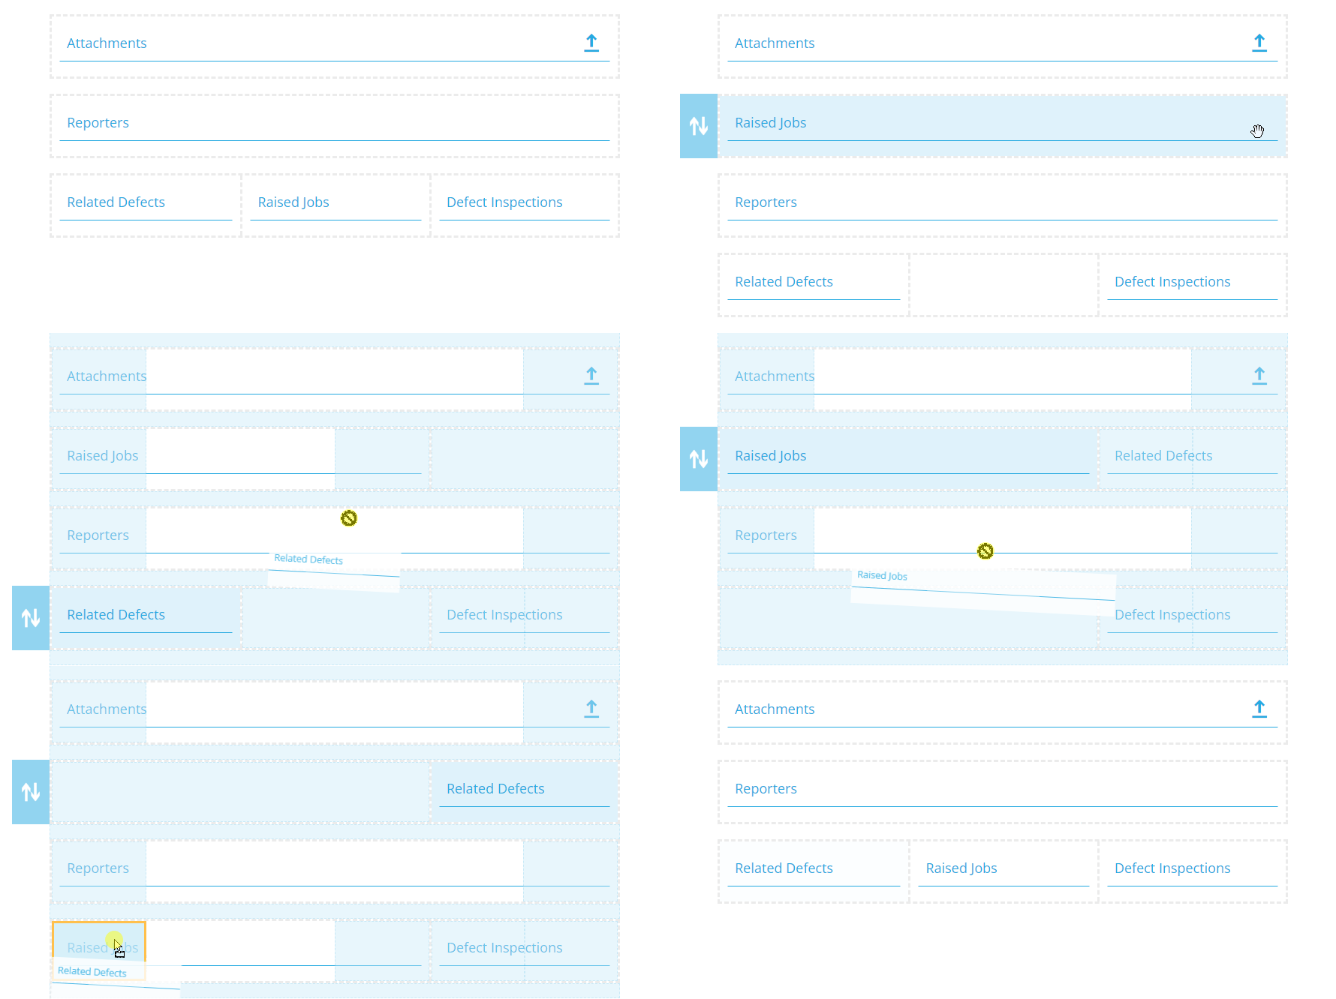
To resize the width of a control, drag its sides left or right. If a row has multiple controls, they will shrink accordingly. If you want to space things out, you can leave gaps between the controls in a row.
Move a control
To move a control, drag it to the desired location (highlighted in purple while dragging). You can drag it next to any another control, whether there's a gap or not! To move a control into its own new row, drag it above or below an existing row.


