Item attachments
Attach supporting files to items
You can upload files to CausewayOne Asset Management and attach them to items for easy reference. Image files display their thumbnails and can be viewed directly, e.g. JPG, PNG, BMP, GIF. This provides a great way to record an asset's condition, especially when reporting a defect or performing an inspection.
It's not just images though! Most types of file can be uploaded and attached, e.g. PDF, CSV, ZIP. These must be downloaded and opened on your device. For security purposes, we block the same file extensions as Microsoft Outlook.
To add, view and remove an item's attachments, open the item in any Asset App to view its details.
To support attachments, the item's design must implement the Files Attachable interface.
Add attachments
To attach files to the current item, open the Item Menu in the item header and choose Attach .
Existing files
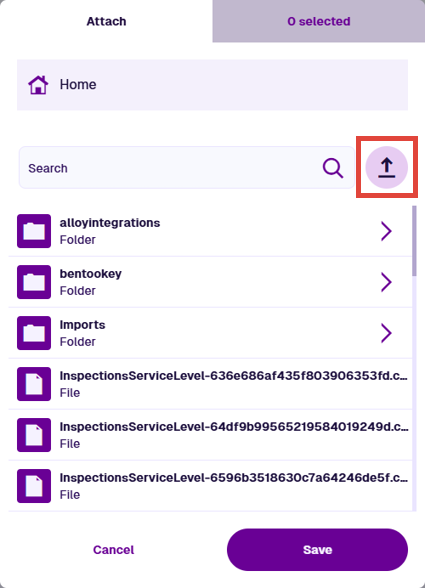
To attach files already stored in CausewayOne Asset Management, browse the folder structure of your company project. Everyone has their own user folder to store their uploaded files. There may be other folders created by your organisation. Keep scrolling to see files that don't belong to any folder! Select to enter a folder and select Home to go back.
To filter the current list of files and folders, type in the search bar and press the Enter key.
Select one or more files (they can be in different folders) and then select Save. When prompted, select Refresh at the top of the item canvas to update the Gallery section.
Upload new files
To upload new files to CausewayOne Asset Management, select Upload beside the search bar. Browse your device, select one or more files and then select Open (or similar). The files will be uploaded to your user folder. When prompted, select Refresh at the top of the item canvas to update the Gallery section.
Drag and drop
If your device supports dragging and dropping files, use this method to quickly upload and attach a file to the current item:
-
Open your device's file manager. Browse to the folder containing your file.
-
Drag the file over the CausewayOne Asset Management area in your web browser.
-
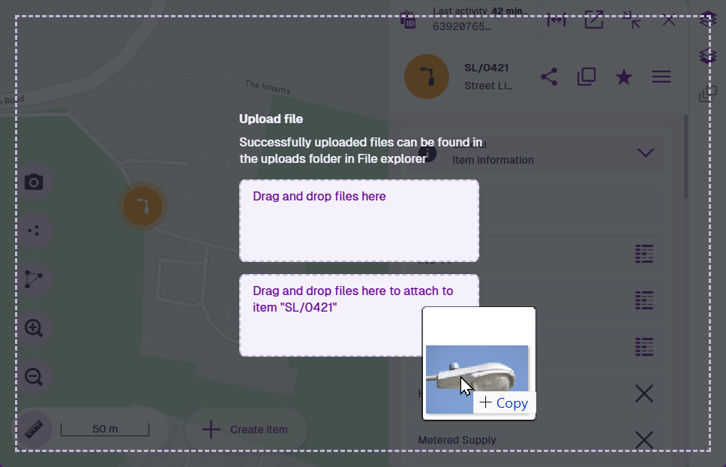
Two drop zones will appear:
-
To upload the file without attaching it to anything, release it over the first drop zone.
-
To upload and attach the file to the current item, release it over the second drop zone (which mentions the item's title).
-
A notification will appear to indicate when the upload has succeeded or failed.
This doesn't work on the Overview page.
Gallery preview
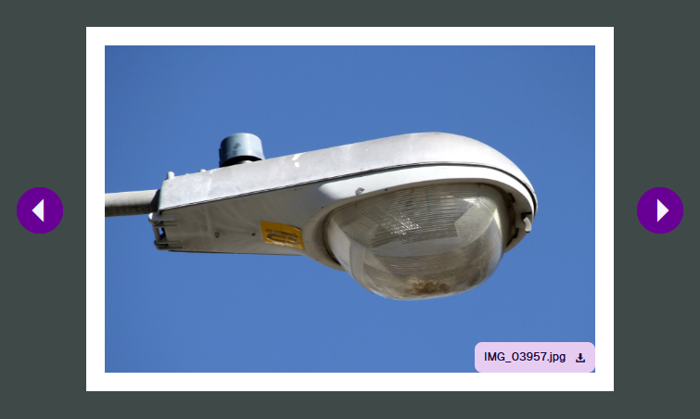
An item's attachments are displayed in its Gallery section.
Select an attachment to open the preview. Use the arrow buttons to cycle through all of the item's attachments. Images are displayed at full size. To download an attachment, select the Download button in its bottom-right corner.
In the preview's bottom-right corner, open the Menu and choose an action:
-
Open item - open the corresponding item of the Files design that represents the attached file.
-
Rotate clockwise - temporarily rotate the image 90° to the right.
-
Rotate counterclockwise - temporarily rotate the image 90° to the left.
To close the preview, select in the top-right corner.
If the current item doesn't have a Gallery section, try a different view. Open the Item Menu in the item header and choose Switch view .
Manage attachments
Use the item's Gallery section to manage its attachments.
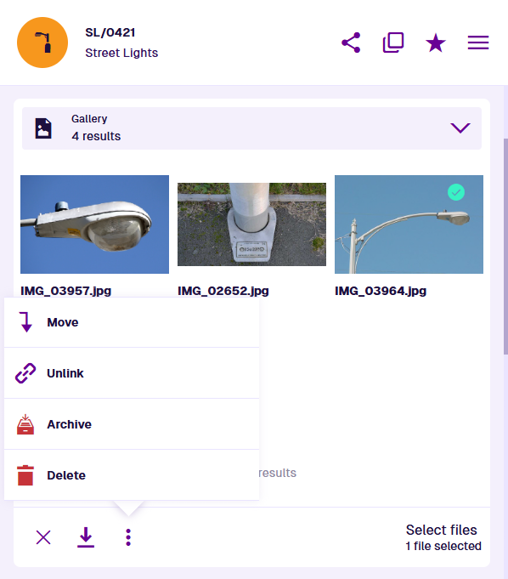
To perform an action on one or more attachments, select at the bottom of the section. Select the attachments and then choose an action:
-
Cancel - stop selecting attachments.
-
Download - download a single zip file containing the selected attachment files.
-
Menu:
-
Move - if one attachment is selected, move the corresponding file to a different folder in your online storage. It will remain attached to the current item.
-
Unlink - remove the selected attachments from the item. The files themselves will remain in your online storage.
-
Archive / Unarchive - move the selected attachments to the Archive or Live collection. They will remain attached to the current item.
-
Delete - permanently delete the selected attachments from your online storage.
-