Manage roles and groups
Organise your permissions structure
The first two columns of the Permissions Explorer list the roles and groups in your company project, including those created by your organisation and preconfigured system ones.
Groups define permissions for specific category objects. Roles bundle groups to provide a combined set of permissions. Together, they form the structure of your permissions in CausewayOne Asset Management.
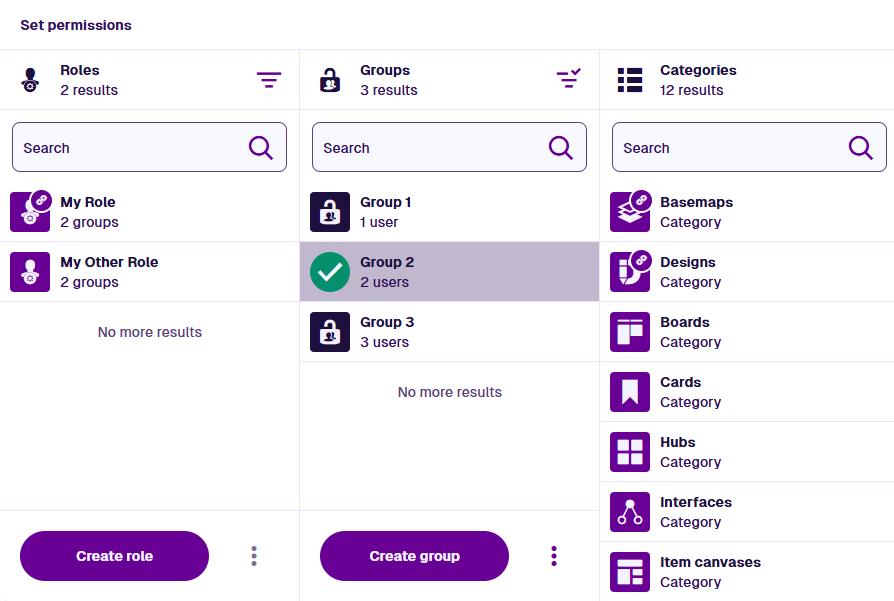
Filter and search
To filter the contents of a column, select Filter in its header:
-
Display context - to hide system roles or groups, set to Customer Only.
-
Tags - only show roles or groups with any of the selected tags.
Select Apply to finish. To clear the filter, select Filter again and reset the fields.
To filter a column by keyword, use its top search box.
Select a role or group
Select up to one thing in each column:
-
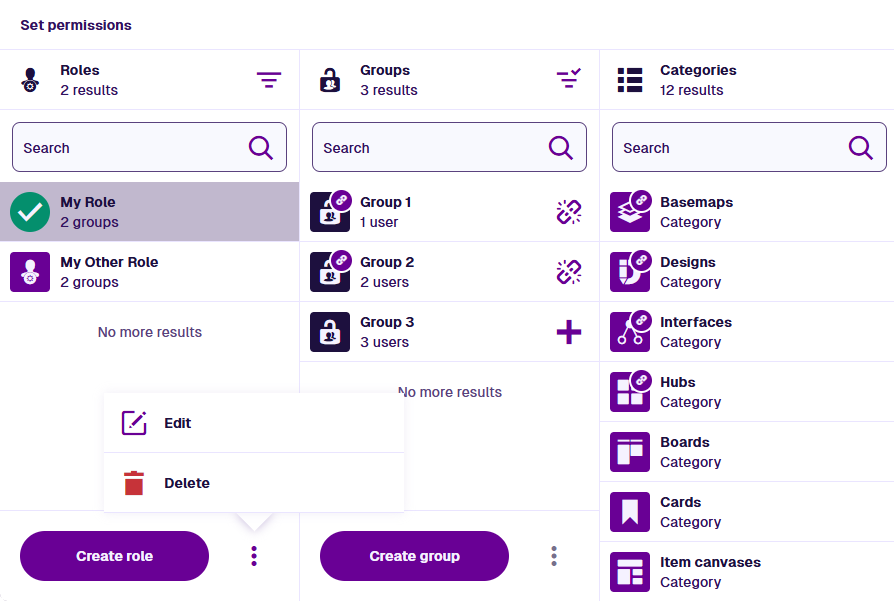
Roles - select one to highlight the groups it contains and the categories they configure. With no group selected, select a highlighted category to view the winning permissions inherited by the role (read-only).
-
Groups - select one to highlight the roles it belongs to and the categories it configures. Select a category and then an object to set its permissions.
When you select something, related things in other columns are raised and highlighted with Link badges.
To start over, select Deselect all in the top-right corner.
Link groups to a role
Select a role to manage its groups:
-
Unlink from role - appears beside groups that currently belong to the role.
-
Link to role - appears beside groups outside the role.
Changes are saved automatically and instantly affect users with the role.
Edit or delete
Select a role or group, then select More at the bottom:
-
Edit - open the role or group in the side panel. Select Edit in the relevant section to change its name, user memberships and linked groups/roles.
-
Delete - permanently delete the role or group. Users will lose any access granted through it.
System roles and groups cannot be renamed or deleted.
Create a role or group
To start the process, select Create at the bottom of the relevant column:
-
1 Details (required) - enter a distinct name that describes the new role or group.
-
2 Groups / Roles (optional) - for a role, select the groups it should contain. For a group, select any roles it should belong to.
-
3 Users (optional) - add users to the new role or group.
Select Create at any step to finish. Optional steps can be done later.
For tips on structuring your roles and groups, see Planning permissions.