User management
Add, remove and configure user accounts
Everyone needs a user account to access CausewayOne Asset Management! As an admin, you can manage the users in your organisation's company database and what they're allowed to access.
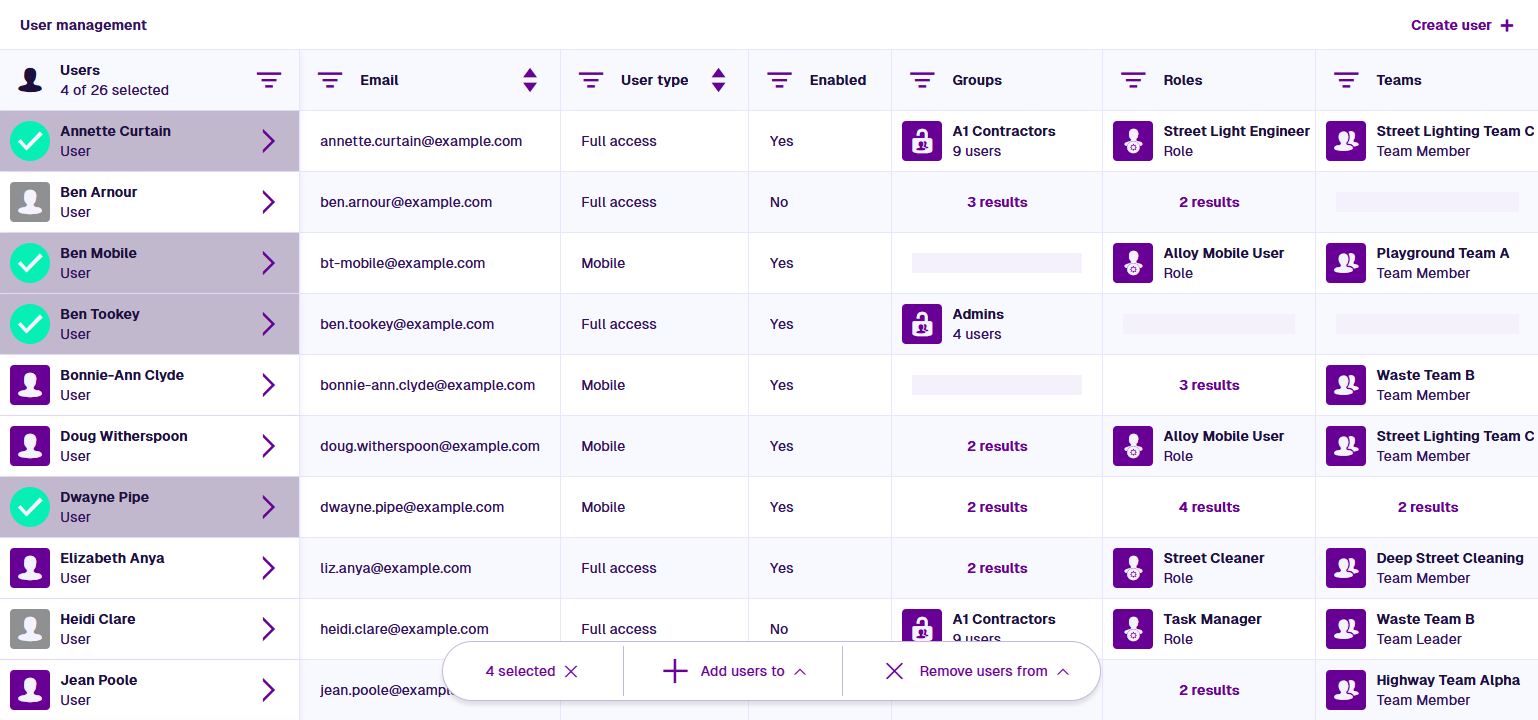
Users are listed in a table, letting you see all of their properties at a glance. The bottom toolbar makes it easy to add multiple users to the groups, roles and teams required for them to access the data they need and receive assigned tasks. Creating user accounts is simple - just enter their name and email address! When a user no longer requires access to CausewayOne Asset Management, you can disable their account or permanently delete it.
To get started, select User management on the start screen.
For a log of all user sessions, including login times and IP addresses, run the standard report named User Login Reports. If unavailable, contact Support to install the relevant module for you.
Filter users
To filter the list of users:
-
Select Filter in the column header you want to filter by.
-
Depending on the column, do the following:
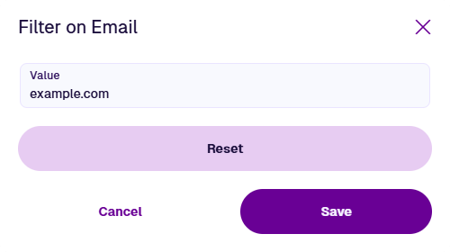
Users / Email
Select Value and enter a search term. Only users that contain this term anywhere in their name / email address will be shown.
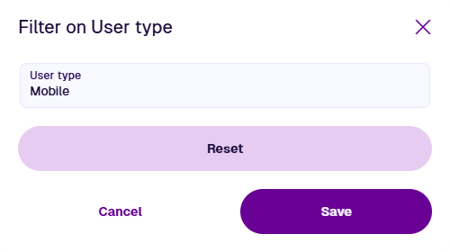
User type
Select User type and choose one of the following:
-
Full access - can sign into CausewayOne Asset Management using a web browser on any device, plus Alloy Mobile.
-
Mobile - can only sign into Alloy Mobile on an iPhone, iPad or Android device.
Only users that match the chosen type will be shown.
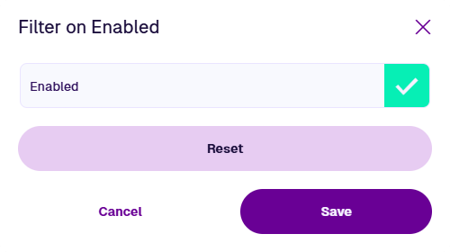
Enabled
Turn on Enabled to only show users that are enabled for active use. Turn it off to only show users who have been disabled and can no longer use their accounts to sign into CausewayOne Asset Management.
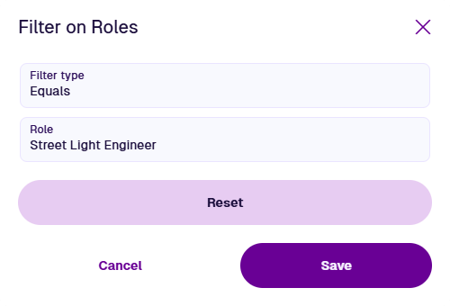
Groups / Roles / Teams
Select Filter type and choose one of the following:
- Contains word - select the Value field and enter a search term. Only users that contain this term anywhere in any of their linked groups / roles / teams will be shown.

- Equals - select the Group, Role or Team field and then choose one from the list. Only users that belong to your choice will be shown.
-
-
Select Save to finish.
Repeat for any other columns you wish to filter by. Be aware that filters are cumulative! If multiple filters are set, you will only see users that fulfil all of those conditions.
To clear a filter, select Filter in the column header and then select Reset.
Sort users
To sort users by their email address or user type, select the Sort button in the column header to switch between the following:
-
Unsorted
-
Ascending - lowest to highest (A -> Z).
-
Descending - highest to lowest (Z -> A).
The results can only be sorted by one column at a time.