Create a user
Give someone access to Asset Management
If a new user requires access to CausewayOne Asset Management, an admin can create an account for them without having to contact us. This is a quick process that only requires the user's name and a valid email address. Afterwards, the user will need to verify their new account and set a password before they can sign in.
The number of users you can create depends on your organisation's subscription. For more information, contact Support.
Create user
On the start screen, select User management and then select Create user in the top-right corner. Fields with an asterisk * require a value to continue.
1 Details
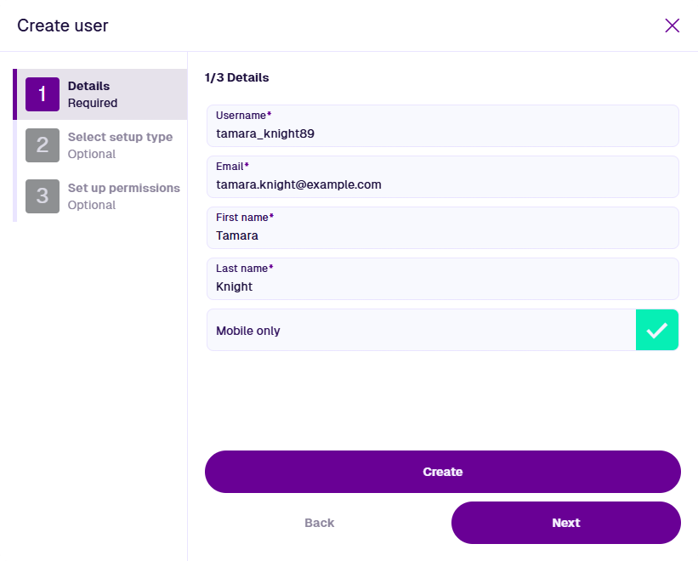
This step is required. Fill in the following fields:
-
Username * - enter a unique username. It can contain lowercase letters, numbers, hyphens and underscores.
-
Email * - enter a unique and valid email address. The user will need to open a verification email.
-
First name *
-
Last name *
-
Mobile only - if enabled, the user will only be able to sign into Alloy Mobile on an iPhone, iPad or Android device. If disabled, they can also sign into CausewayOne Asset Management using a web browser on any device.
Select Next to continue. Alternatively, select Create to finish without setting up any permissions for the new user (you can do this later).
2 Select setup type
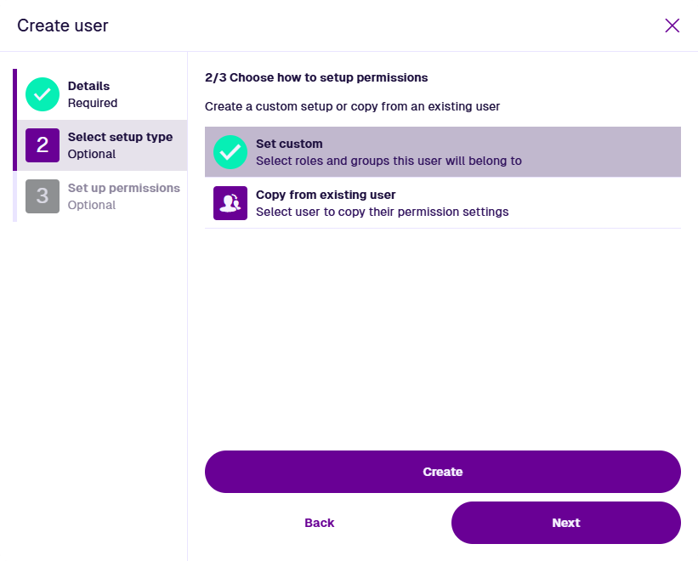
This step is optional. Choose how to set up the new user's permissions:
-
Set custom - add the user to specific roles and groups.
-
Copy from existing user - add the user to the same roles/groups as another user.
Select Next to continue. Alternatively, select Create to finish without setting up any permissions for the new user (you can do this later).
3 Set up permissions
This step is optional. Do one of the following, according to your previous choice:
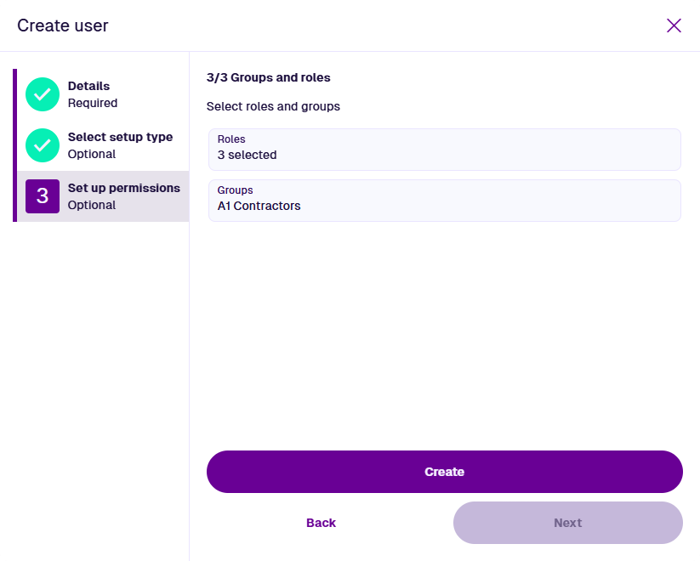
Groups and roles
Fill in the following fields:
-
Roles - select any roles that the user should belong to. Each role provides the combined permissions and access policies of all the groups that are linked to it.
-
Groups - select any groups that the user should belong to. Each group defines a set of permissions that grant read/write access to specific Asset Management features. One or more access policies may also apply to the group. They define which items of a specific design/interface are visible to the group, based on each item's attribute values.
We recommend adding users to roles where possible (even if it means having a role with just one group). This builds in flexibility that will make permissions management easier going forward.
Select user
Fill in the following field:
- User - choose the user you want to copy from. The new user will be added to the same roles and groups as them.
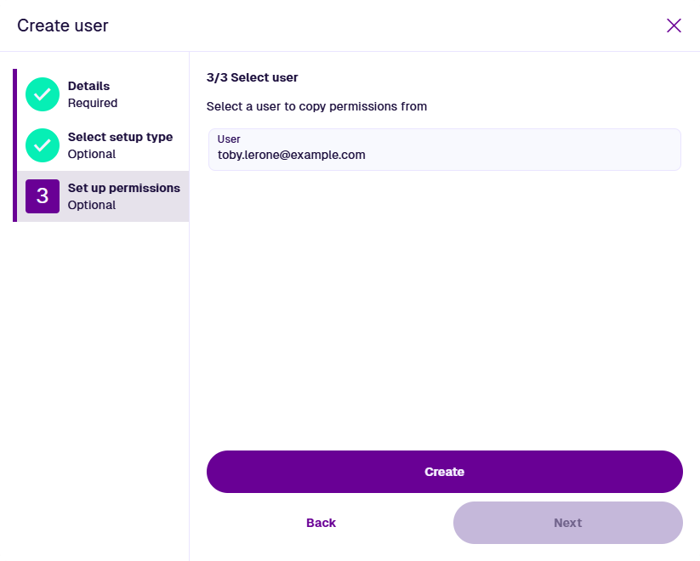
Select Create to finish. The new user's details will open in the side panel.
User verification
Before the new user can sign in, they must verify their email address. When a user is created, an email is sent to the supplied address. It contains a link for them to follow, which will validate their account and let them set a password.