Defect statuses
Customise a system status or create your own
In CausewayOne Asset Management, defect statuses are defined by the Defect Statuses design. Several pre-made items of this design are included, which cover a range of scenarios. When someone creates/edits an inspection or job, they can set its Status attribute by choosing one of those items from a list.
Of course, you're free to create more items to define new defect statuses according to your organisation's needs!
System defect statuses
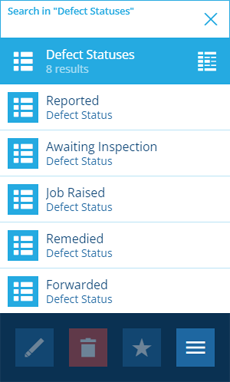
The following Defect Statuses items are included:
-
Reported - the default status for new defects.
-
Awaiting Inspection - an inspection will be performed to assess the reported defect.
-
Confirmed - the defect has been inspected and confirmed to exist.
-
Job Raised - a job will be performed to fix the defect.
-
Remedied - the defect has been fixed.
-
Forwarded - the defect has been referred to a third party.
-
No Action Required - the defect exists but requires no action.
-
Superseded - the defect has been made irrelevant by another defect.
System statuses are protected Core items, so they can't be edited or deleted. However, you can customise their icon and colour.
Create a defect status
To create a new defect status item:
-
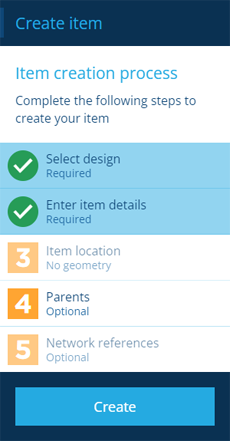
Open the Designer dashboard card and select Create item to start the item creation process.
-
For the 1 Select design step, choose the Defect Statuses design and the Live collection.
-
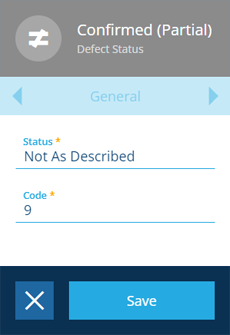
For the 2 Enter item details step, populate the following attributes:
-
Status - a distinct name that describes the current state of the defect, e.g. Confirmed (Partial)
-
Code - a unique identifier, e.g. 9.
-
-
Select Create to finish.
Edit a defect status
To change the appearance of a defect status:
-
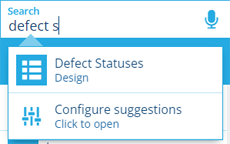
Select Search in the right panel menu to open the Search panel.
-
If necessary, select to clear the previous search. Start typing defect statuses and select the design when it appears.
-
Select the desired item in the results to view its details.
-
Use the tab bar to switch to the Settings tab and select Edit at the bottom. Edit the following properties as needed and then select Save:
-
Icon - use the icon picker to change the icon of the status.
-
Colour - use the colour picker to change the colour of the status.
-
-
If it's a custom defect status (its context is Customer), you can also edit its attributes on the General tab.