Implement the risk interface
Incorporate risk into a defect design
If your organisation uses the optional Risk Assessment module, you can incorporate risk data into your defects.
By configuring a defect design to implement the Risk Assessment interface, the design will inherit a set of risk attributes. These can be used to calculate a risk severity score, which can inform your maintenance decisions.
While the Risk Assessment interface can be implemented by any design, it's primarily intended for defect designs.
Add the risk interface
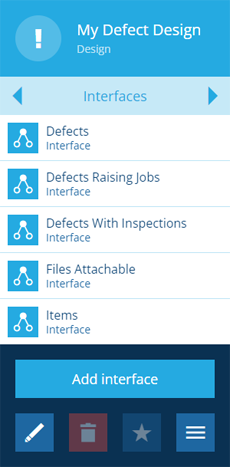
To add the risk interface to a defect design:
-
Select the design to view its details in the right panel.
-
Use the tab bar to switch to the Interfaces tab. Select More in the action bar and choose Add interface.
-
Type
riskin the search bar and press the Enter key. Choose the Risk Assessment interface to finish.
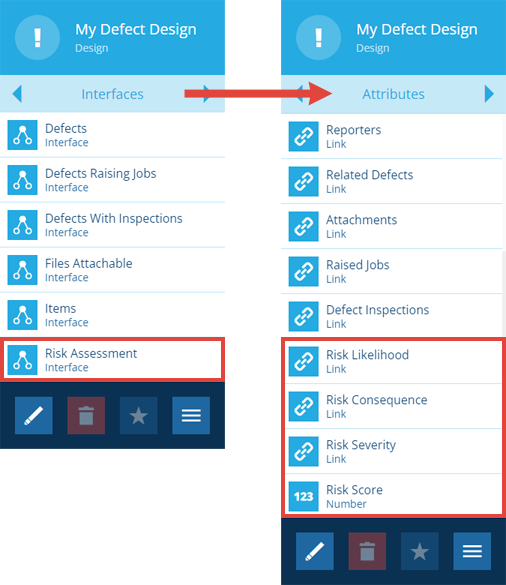
The risk attributes are now visible on the Attributes tab of the defect design.
Users can now set the value of the Risk Likelihood and Risk Consequences attributes when creating/editing items of the defect design. The other two attributes are set automatically by the risk calculation workflow.
Remove the risk interface
To remove the risk interface from a defect design after it's been added:
-
Select the design to view its details in the right panel.
-
Use the tab bar to switch to the Interfaces tab and then select Edit in the action bar.
-
Select beside the Risk Assessment interface and then select Save to finish.
If the interface can't be removed, items of the defect design may exist that contain values for any of the inherited risk attributes. Either edit the items to clear those attribute values or delete the items entirely (see Bulk actions).