Creating a project
Store tasks in a new project
If you have a bunch of related inspections and/or jobs, you can group them together by creating a new project to store them in. This makes it easier to track their progress and provides the ability to plan routes between their locations!
Create a project
To create a new project item:
-
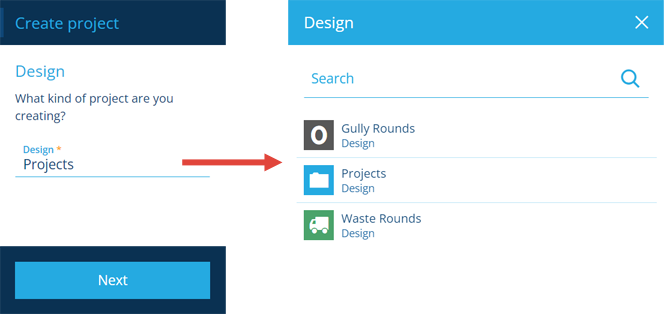
Open the Activities dashboard card and select Create project.
-
In the dashboard panel, select the Design field and choose from a list of available project designs. These are typically included with modules or created by your organisation (see below). If in doubt, select the standard Projects design!
Select Next to continue.
-
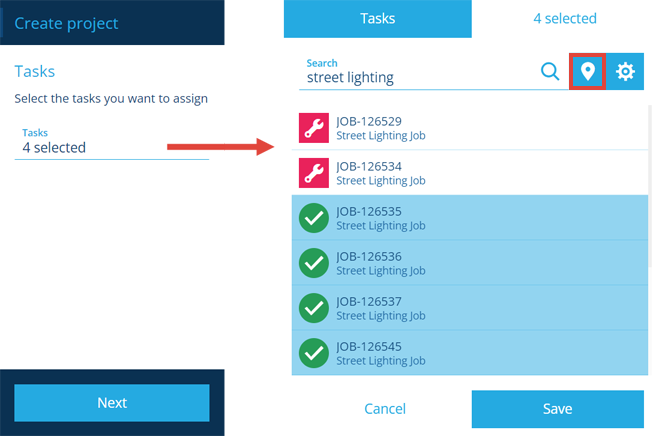
To assign tasks to the project, select the Tasks field and use the item picker to search and select the ones you want. Use the button to switch to the map picker, where you can select tasks according to their geographical location. If you select tasks that are already assigned to a project, a warning will appear with the option to reassign them.
Alternatively, leave this blank for now and add tasks later.
Select Next to continue.
-
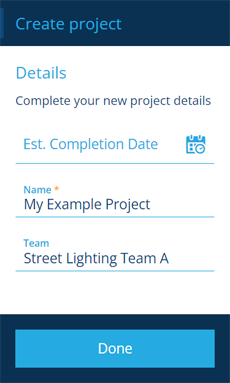
Fill in the following attributes as needed, along with any extra attributes defined by your chosen project design:
-
Name * - enter a distinct name that clearly identifies the project.
-
Team - assign a team to the project (or leave it blank and add a team later).
Select Done to finish.
-
You can also create a project during the job or inspection creation processes.
Custom project designs
The standard Projects design included with CausewayOne Asset Management provides all the necessary functionality to get started. Depending on which modules are installed for your organisation, other project designs may also be included, e.g. Waste Rounds. Like all system designs, you can edit their appearance (name, icon, colour) and add attributes to record extra project data as needed.
If you require multiple distinct project types, you can create new designs and make them implement the Projects interface.