Managing project tasks
Add or remove tasks associated with a project
There are several ways to manage the task items stored in a project. You can add or remove tasks from a list, select tasks on the map, or assign tasks during their creation.
Edit the Tasks attribute
To edit the tasks of a project:
-
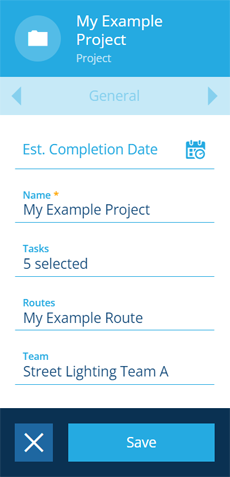
Select the project to view its details in the right panel.
-
At the bottom of the General tab, select Edit button in the action bar.
-
Select the Tasks attribute to edit its contents:
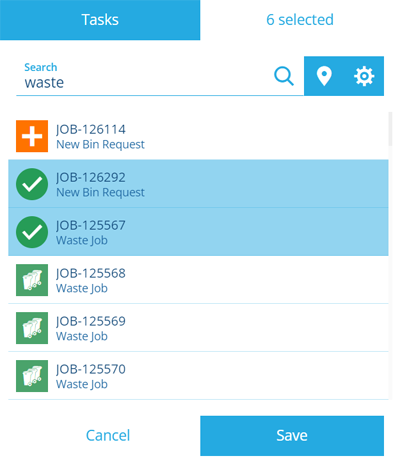
Use the item picker
Use the item picker to select the tasks you want to include in the project. To filter the list, enter one or more keywords in the top search box, and then press the Enter key.
To easily remove tasks, select the top-right corner of the window (that says X selected). You can then remove individual tasks by selecting their button or select Remove all to clear the list.
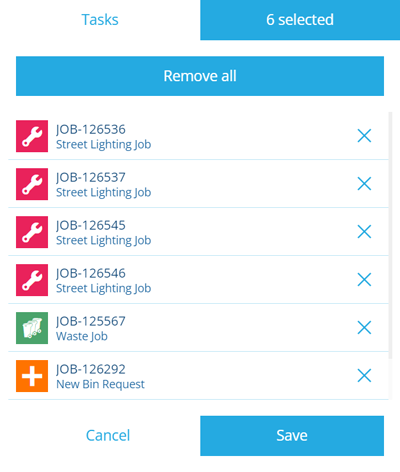
Select Save to finish.
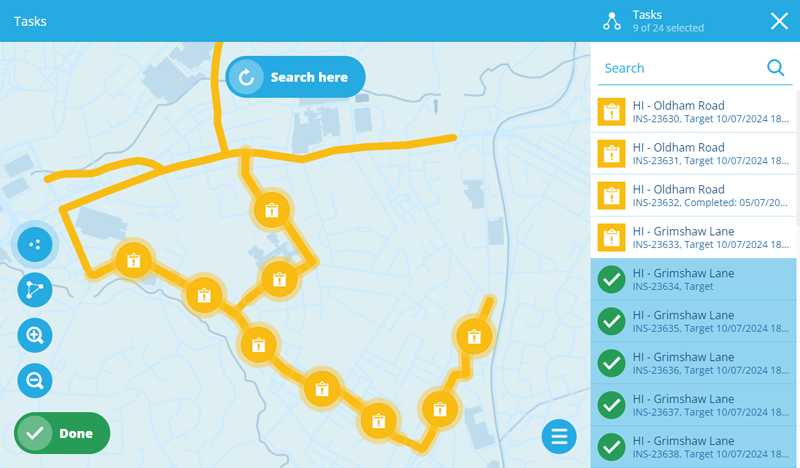
Use the map picker
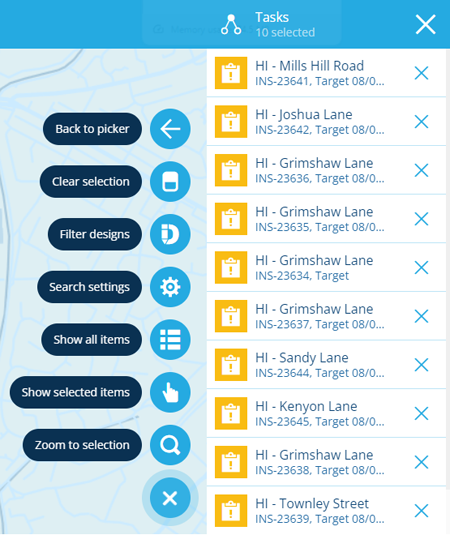
In the item picker, select to switch to the map picker. This lets you select tasks according to their geographical location. By default, all task items are loaded. To only show tasks of specific designs, open the Menu and choose Filter designs. Pan and zoom the map to the relevant area and then select Search here to load the tasks in that area. Use the top-right search box to filter the results by keyword.
Select the relevant tasks in the right panel or directly on the map.
To easily remove tasks, open the Menu and choose Show selected items. You can then remove individual tasks by selecting their button in the right panel. Alternatively, choose Clear selection from the menu to remove all selected tasks.
Select Done to finish.
If you select tasks that are already assigned to a project, a warning will appear with the option to reassign them.
-
Select Save in the action bar to finish.

Use the Tasks tab
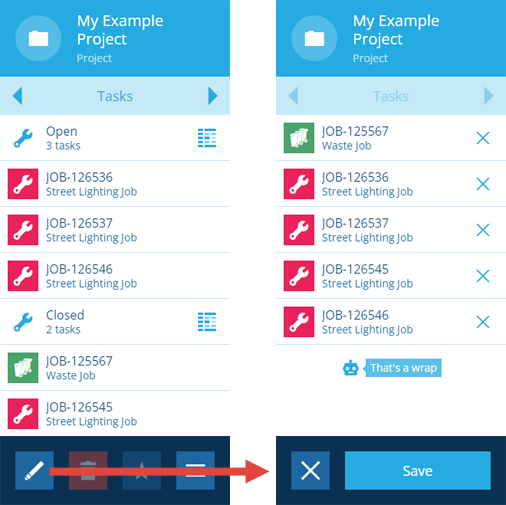
When viewing a project's details, switch to the Tasks tab to see the project's assigned tasks, which are grouped according to whether they're considered Open or Closed. To load a task group in the Data Explorer, select its button. You can then do things like perform bulk actions on those tasks or export their data.
To remove tasks from the project, select Edit button in the action bar. Select beside each task you want to remove and then select Save to finish.
Other methods
Tasks can be assigned to a project as they're being created. When you're creating inspections or creating jobs, step 6 lets you optionally assign the new task(s) to a new or existing project.
Additionally, when viewing the details of a task, it's possible to assign the inspection or assign the job to an existing project.