Managing project routes
Add or remove routes associated with a project
There are several ways to manage the route items stored in a project. You can add or remove existing routes using the map picker, preview assigned routes, and create new routes that are automatically assigned to the project.
Edit the Routes attribute
To edit the routes of a project:
-
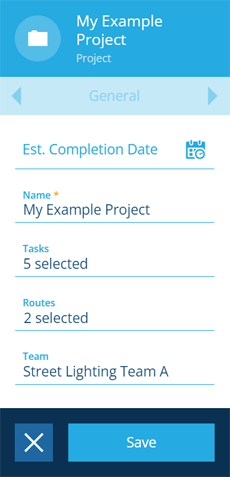
Select the project to view its details in the right panel.
-
At the bottom of the General tab, select Edit button in the action bar.
-
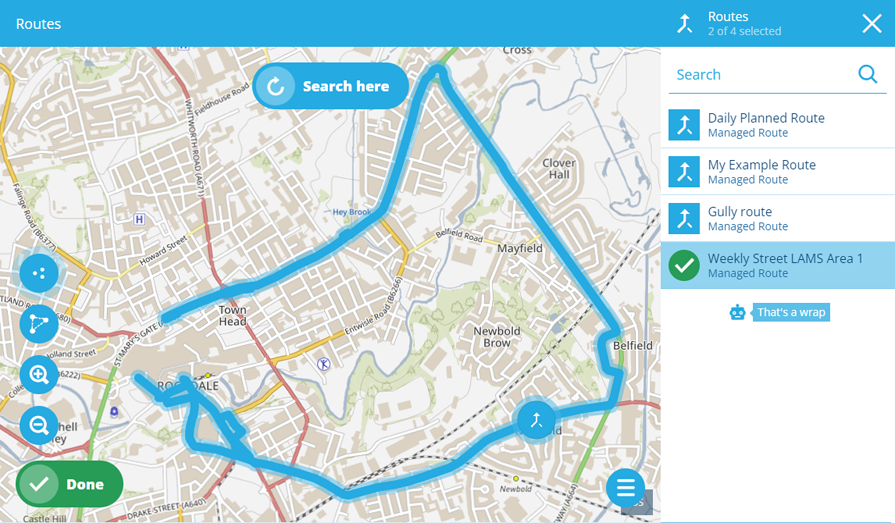
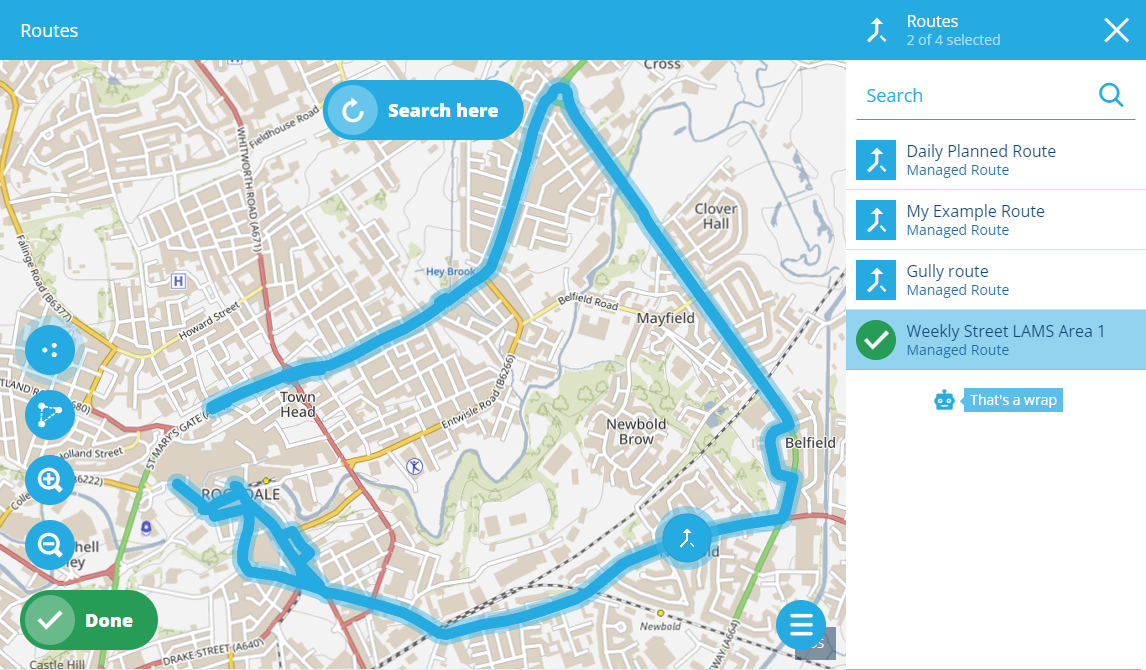
Select the Routes attribute to edit its contents in the map picker. Pan and zoom the map to the relevant area and then select Search here to load all routes in that area. Use the top-right search box to filter the results by keyword. Select one or more routes in the right panel or directly on the map. Select Done to finish.
-
Select Save in the action bar to finish.
Unlike task items, route items can belong to multiple projects.
Use the Routes tab
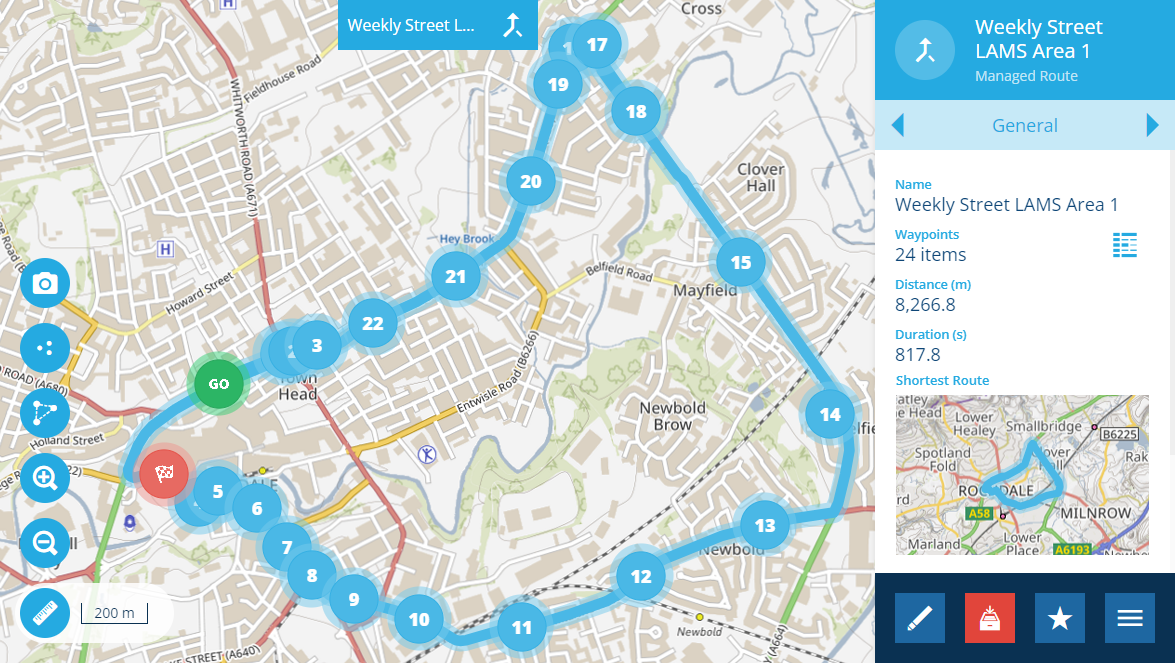
When viewing a project's details, switch to the Routes tab to see the project's assigned routes. Select a route to view its details in the right panel. This displays a preview of the route on the map, including numbered waypoints and the direction of travel (when zoomed in enough). To return to the project item, use your browser's Back button, or access your recently viewed list.
Route preview
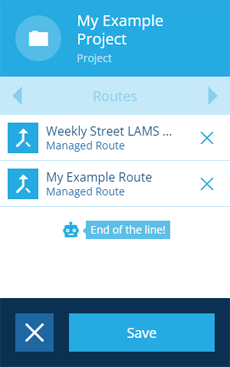
To remove routes from the project, select Edit button in the action bar. Select beside each route you want to remove and then select Save to finish.
Create a route
To create a new route that's assigned to the project, select More at the bottom of the Routes tab and choose Create route. To learn more, see Creating routes and Editing routes.