Creating jobs
Define and assign work
Create jobs to get work done!
You can create a single job against one asset or a batch of jobs against multiple assets. You can add one-off jobs where needed, or set up a recurring schedule. You can also create a job directly from a verified defect or a completed inspection.
Alloy Mobile users can create and complete jobs while in the field.
Before starting, ensure that a design exists which defines the type of job you're about to create. Use the job designs provided with installed modules or create your own.
Start the process
There are several ways to start creating a job:
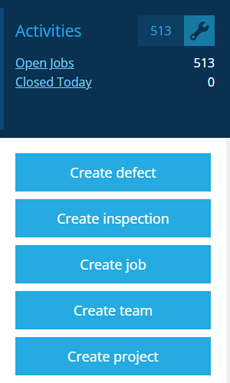
Start from the dashboard
Open the Activities dashboard card and select Create job.
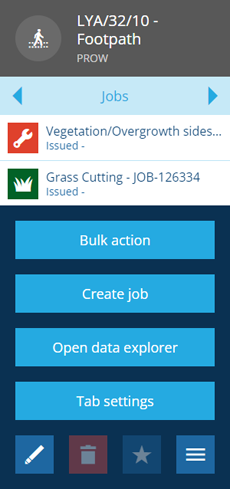
Start from an asset or activity item
To create a job for the item you're viewing, switch to the Jobs tab, select More in the action bar and choose Create job. The creation process will start with steps 1 and 2 configured automatically.
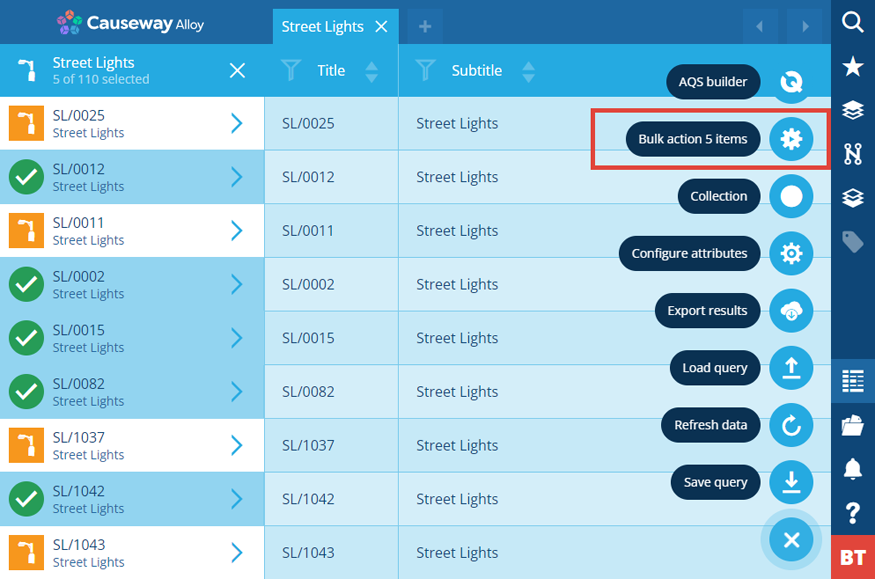
Perform a bulk action
When using Search or the Data Explorer to find asset or activity items, you can perform a Create job action on some or all of the item results. The creation process will start with steps 1 and 2 configured automatically.
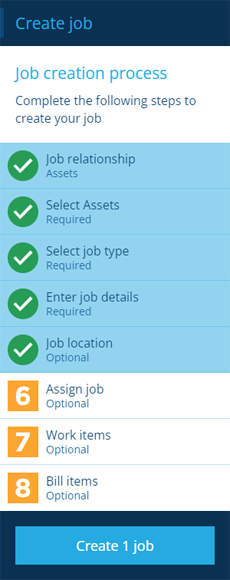
The job creation process
The key steps of this process will appear in the dashboard panel:
-
1 Job relationship - required
-
2 Select parent item(s) - required, unless the relationship is None
-
3 Select job type - required
-
4 Enter job details - required
-
5 Job location - optional
-
6 Assign job - optional
-
7 Work items - optional
-
8 Bill items - optional
You don't necessarily have to enter all of the job's details upfront! Fields marked with an asterisk * are required. Other fields can be edited later.
1 Job relationship
Choose the type of item you want to create a new job for. This is usually set automatically, according to how you started the process. However, you can change it as needed:
-
Assets - define work to be done on one or more assets.
-
Jobs - define work arising from another job.
-
Inspections - define work arising from an inspection.
-
Defects - define work arising directly from a defect.
-
None - define some isolated work.
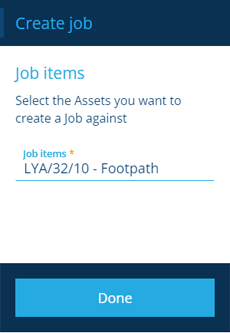
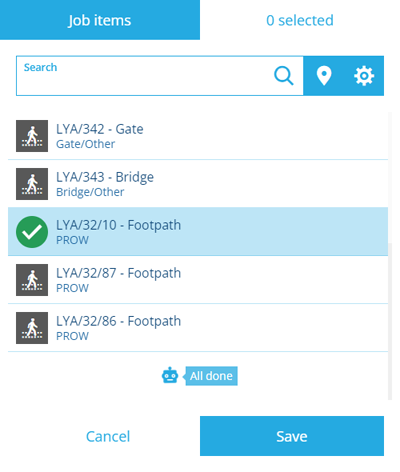
2 Select parent item(s)
Select one or more Job items of the type chosen in step 1. A new job will be created for each one. To select items visually based on their location, select in the item picker's search box to switch to the map picker.
Select Done to choose the next step.
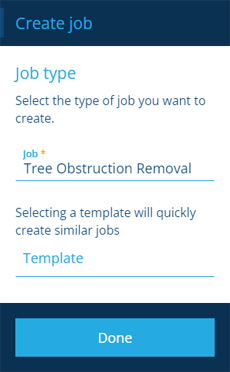
3 Select job type
Choose the type of job to create:
-
Job * - choose from a list of job designs that apply to the item(s) selected in step 2.
-
Template - pre-populate the new job(s) with values from an existing template item.
Select Done to choose the next step.
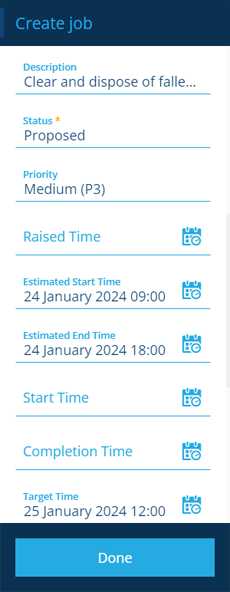
4 Enter job details
Enter values for the attributes of the job design chosen in step 3. Any required attributes * must contain a value to continue. Some attributes may be populated with a default value, such as:
-
Status * - is set to Proposed by default but can be changed.
-
Raised Time - if left blank, it will be set to the current date and time.
-
Job Number - an automatically generated unique number (not shown in this step).
Statuses and times
If you set Status to one of the following, the corresponding Time attribute will also be set to the current date and time (if left blank):
- In Progress ➞ Start Time
- Completed ➞ Completion Time
- Cancelled ➞ Cancelled Time
Select Done to choose the next step.
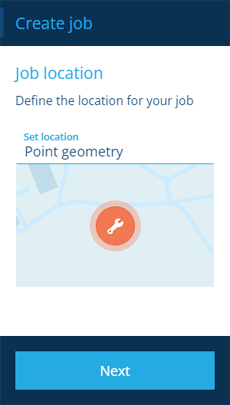
5 Job location
Depending on the job design chosen in step 3, this step may show as:
-
Optional - if left blank, the new job(s) will inherit the geometry of the parent item(s) selected in step 2 (providing the parent's geometry type is allowed on the job design). Alternatively, you can set a new geometry value! This is handy for situations where the shape/location of a job should be represented differently, e.g. to repair a pothole on a carriageway.
-
Required - you must set the new job's geometry. It won't be inherited from the parent item(s). This happens if the Requires geometry property is enabled on the job design.
-
No Geometry - the job can't store any geometry. This happens if the Allowed geometry property is active but empty on the job design.
-
Set from template - the new job's geometry will match the template item chosen in step 3.
To explicitly set the geometry of the new job(s), select this step and then Set location. Use the Geometry Editor to define the geometry and then select Save. By default, you can draw any geometry type, though this may be limited by the job design.
Select Next to choose the next step.
To specify which geometry types are allowed on a design, see Editing general design details.
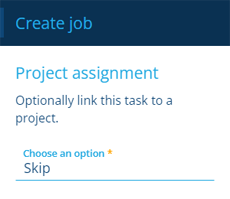
6 Assign job
You can optionally assign the new job(s) to a project. By default, this is set to Skip.
Assign to an existing project
Select Choose an option and choose Existing Project.
Select the Project field that appears and choose an existing project item.

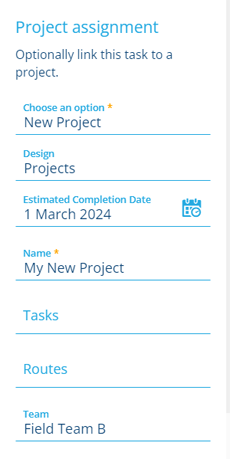
Assign to a new project
Select Choose an option and choose New Project.
Select the Design field that appears and choose a project design, e.g the standard Projects design included with CausewayOne Asset Management.
Attributes for the chosen design will appear. Fill in the required fields * and any others as needed.
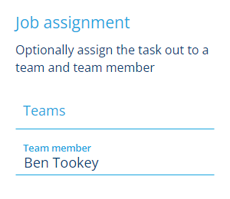
You can also optionally assign the new job(s) to a team.
Select Done to choose the next step.
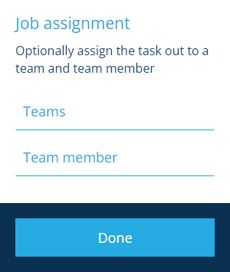
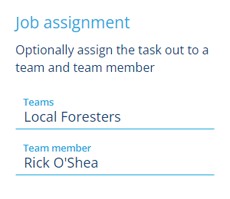
Assign to a team
Select Teams and choose one from the list. You can then optionally select Team Member and choose one from that team.
Assign directly to any team member
Select Team Member and choose any team member, regardless of their team.
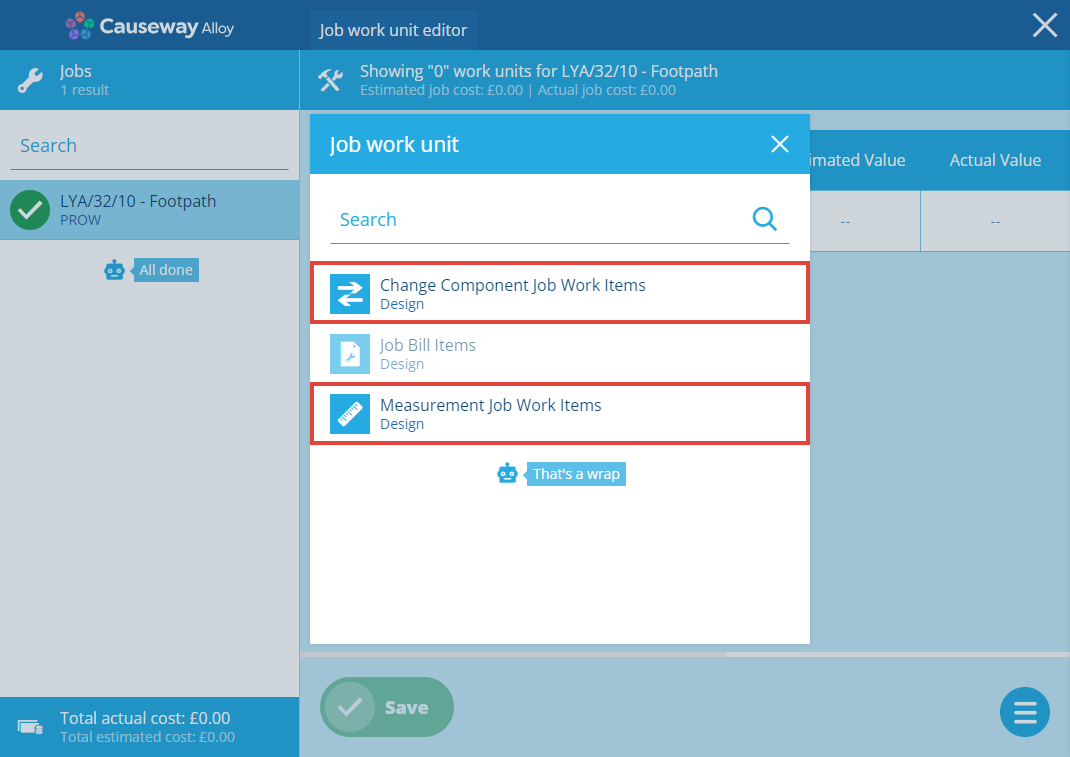
7 Work items
This is an optional step. Work items let you define a unit of work, e.g. an amount of material required for a job. Select this step to open the Job Work Units Editor, where you can add and configure work items that apply to the job design chosen in step 3.
To learn more, see Work units.
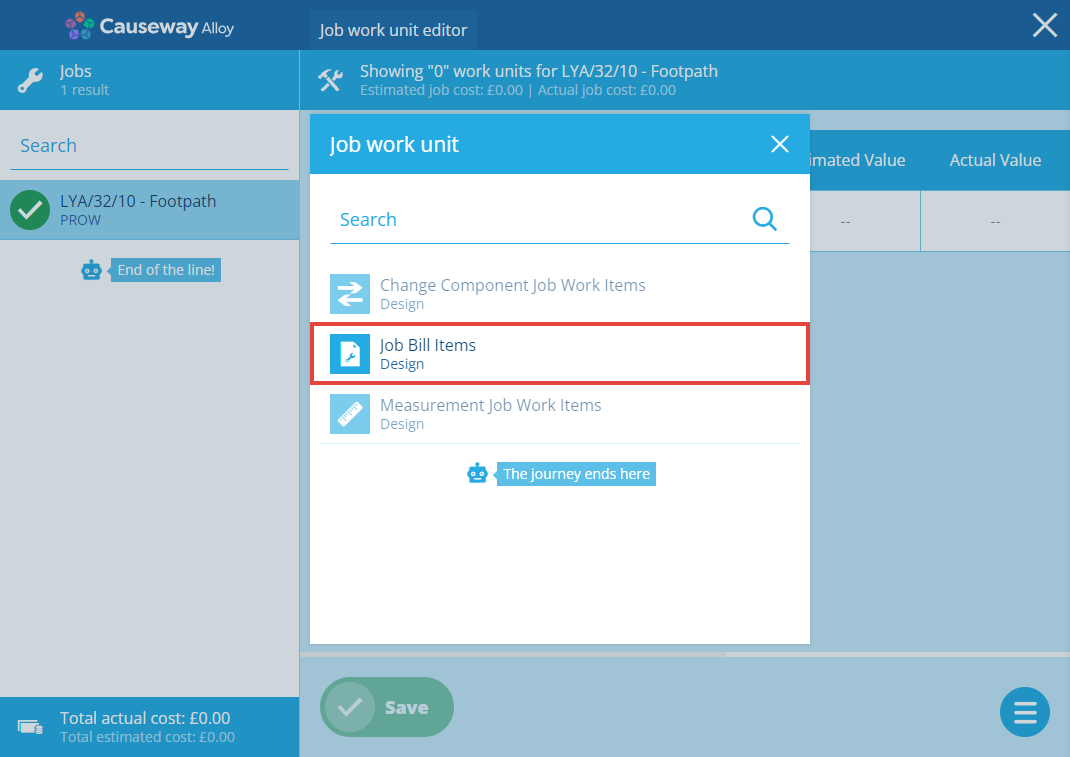
8 Bill items
This is an optional step. Bill items let you define a unit of work that's billable to a customer, e.g. hours of labour. Select this step to open the Job Work Units Editor, where you can add and configure bill items that apply to the job design chosen in step 3.
To learn more, see Work units.
Finish the process
After completing the relevant steps, select Create to finish. A notification indicates whether the job item was created successfully or an error occurred.
Create more jobs
To quickly create more jobs, select Create another in the notification before it disappears. The job creation process will restart with the previous values intact, which you can then change as appropriate for subsequent new jobs.
For more complex scenarios, you can build workflows that perform Create Item actions according to various conditions, which can be triggered automatically or on demand.