Working days and holidays
Configure your organisation's working days
CausewayOne Asset Management uses a calendar system to determine which dates count as working days. This matters wherever the system reasons about dates, e.g. offsetting a task's due date by a number of working days in a workflow.
This working days calendar comprises two parts:
-
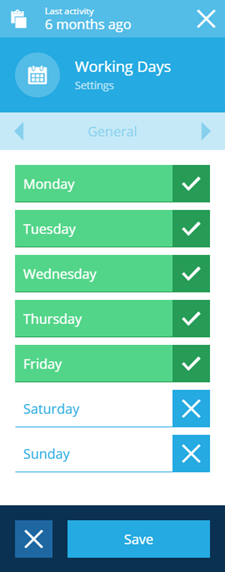
A single item of the Working Days design that defines which days of the week are working days. The default is Monday to Friday.
-
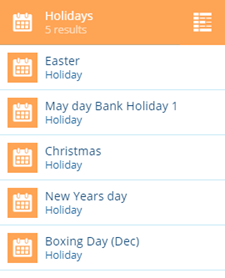
Items of the Holidays design, each marking a single day or block of days to exclude from the calendar, e.g. a public holiday or a seasonal shutdown.
Edit the Working Days item to match your organisation's standard week, then add Holidays items as needed throughout the year.
Keep to one Working Days item. If more than one exists, one is used and the rest are ignored.
Configuring working days
To configure your organisation's working days, follow this procedure:
-
Select Search in the right panel menu. Start typing
working daysand select the design when it appears.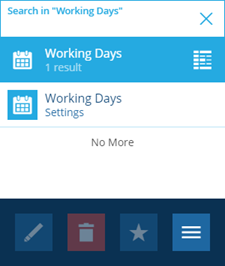
-
Select the item in the results to view its details.
-
Select Edit in the action bar, then enable the days you want to include in the working week.
-
Select Save to finish.
Configuring holidays
Use the Holidays design to record the dates excluded from your working calendar. Create one item for each holiday, covering either a single day or a block of consecutive days.
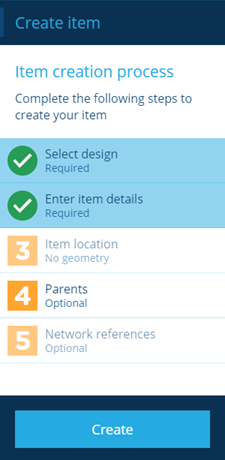
To create a holiday item, follow the standard item creation process. The following steps describe the choices specific to holidays.
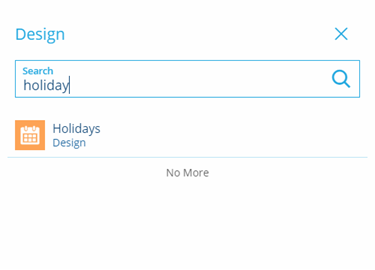
1 Select design
This is a required step. Use these fields to define the holiday item you are creating:
-
Design * - choose the Holidays design.
-
Collection - the Live collection is selected by default.
-
Template - not applicable to this design.
Select Next to choose the next step.
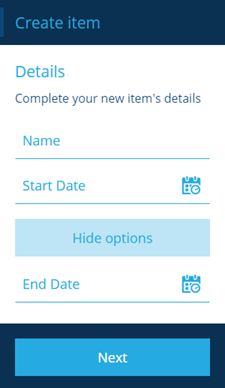
2 Enter item details
This is a required step. Enter values for the holiday's attributes:
-
Name * - a name that identifies the holiday item.
-
Start date * - the start date of the holiday period. A dialog displays a calendar that lets you select a date.
-
End date - the end date of the holiday period. A dialog displays a calendar that lets you select one or more dates. If the holiday lasts a single day, you don't need to enter an end date.
Select Next to choose the next step.
Finish the process
After completing steps 1 and 2, select Create to finish. A notification indicates whether the item was created successfully or an error occurred.
Repeat this procedure to create all the relevant holidays in a calendar year. Each one is excluded from your working calendar and treated as a non-working day.