Assets
Manage your assets with CausewayOne
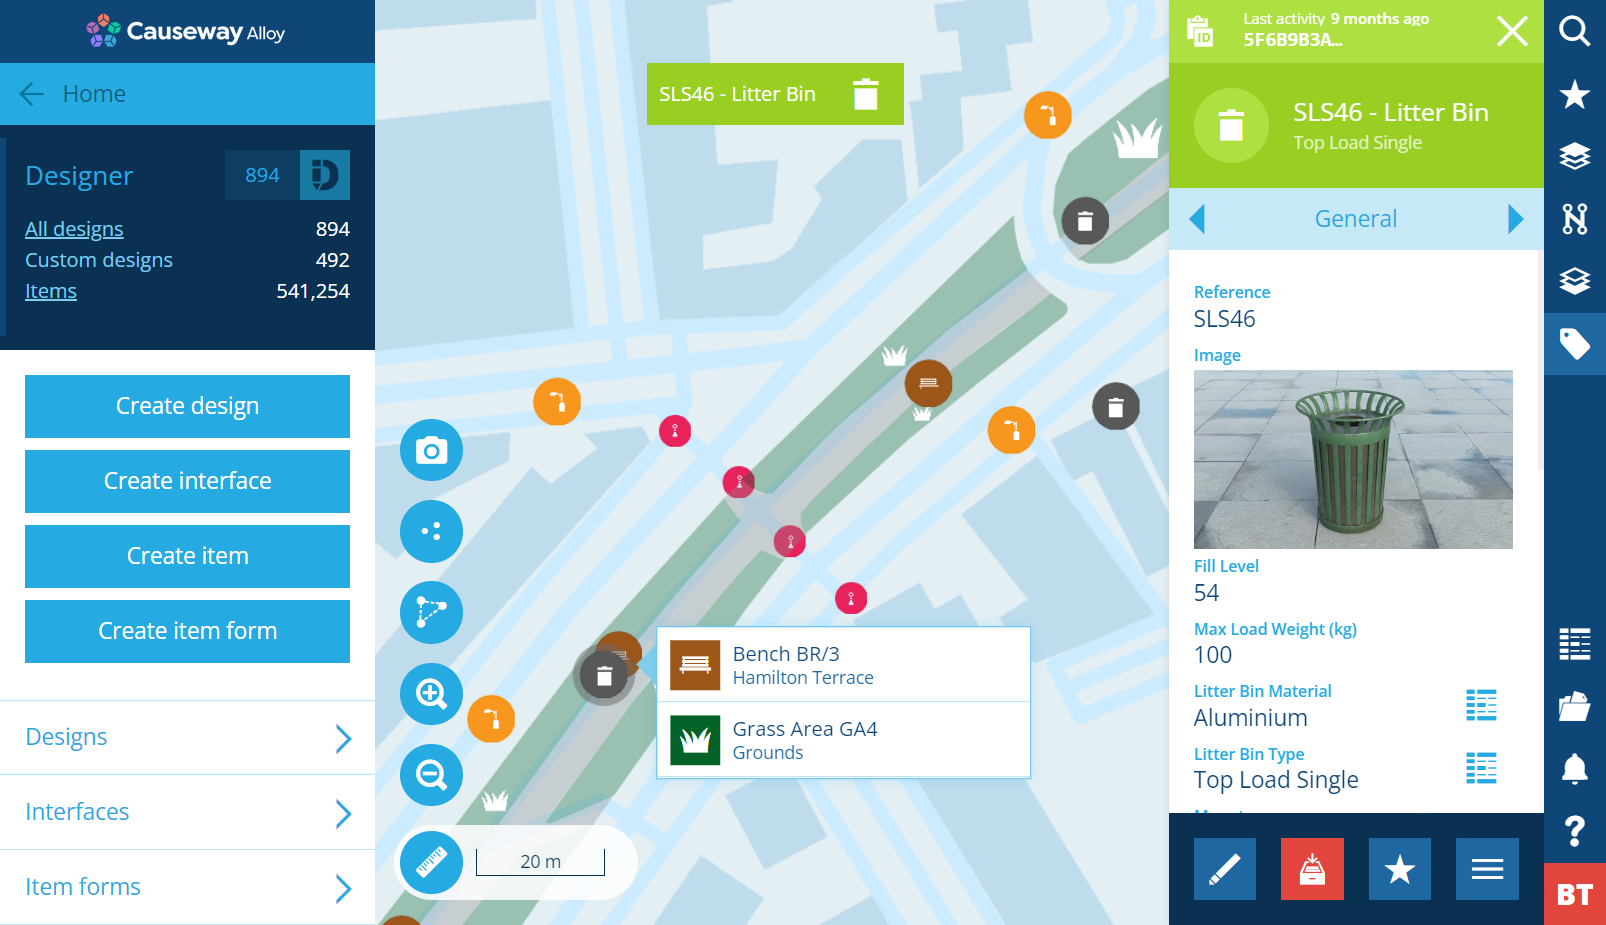
This is what you're here for! You have assets and you need to manage them. CausewayOne Asset Management provides a range of tools to monitor and control all types of assets across different service areas:
-
store any type of information about any type of asset
-
optimise asset performance and lifespan by using activities to report defects, schedule inspections and allocate jobs
-
generate detailed reports to stay informed about your assets and operations
-
automate processes with workflows
To create and manage assets, your user profile requires the necessary permissions.
Represent your assets with designs and items
To get started, you first need to represent your assets in CausewayOne Asset Management:
-
Create designs that describe each type of asset you manage.
-
Create items from those designs to represent the assets themselves.
Remember: a design is a set of attributes that collectively describe a category of things. An item of the design represents one set of values for those attributes (an instance).
Designs can implement interfaces to inherit shared attributes and classifications.
Create an asset design
To create a design that represents a type of asset:
-
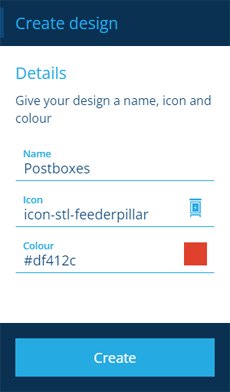
Open the Designer dashboard card, select Create design and choose Asset.
-
Fill out the following fields:
-
Name * - supply a meaningful name to identify the design.
-
Icon - use the icon picker to choose an icon from the library. The default is .
-
Colour - use the colour picker to choose a colour from the library. The default is purple.
-
-
Select Create. Your new design will appear in the right panel. Add custom attributes for each bit of information you want to record about the asset type. For more customisation, see Designer.
Inherited attributes
Your new design implements the Asset Heads interface, which in turn implements several others. This causes your design to inherit a number of key attributes.
Interface Implemented Inherited attribute Lets you... Asset Heads Directly by the design Notes Record miscellaneous data about the asset Assets Indirectly via Asset Heads Installed Date Record when the asset entered service Default Teams Indirectly via Asset Heads Default Teams Allocate the asset to a team Defects Assignable Indirectly via Asset Heads Defects Register defects against the asset Network Referenceable Indirectly via Asset Heads Network References Register the asset in a network Tasks Assignable Indirectly via Asset Heads Tasks Register inspections and jobs against the asset Items With Reports Indirectly via Assets Reports Link to reports involving the asset 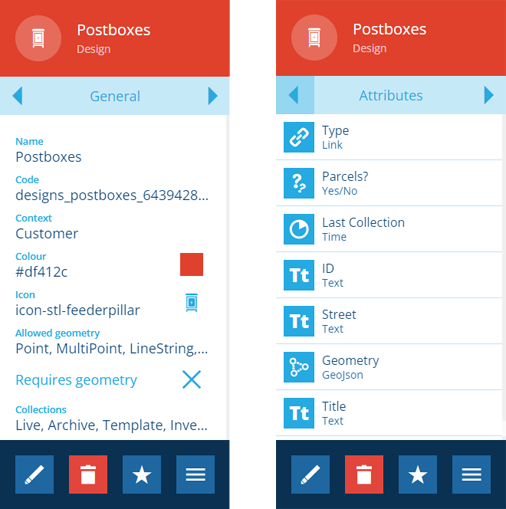
Create asset items
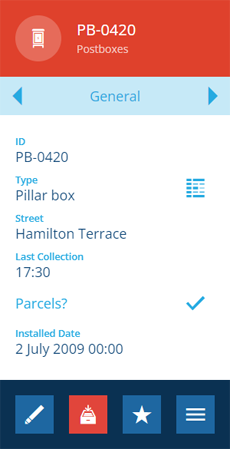
Once you have a design that describes a particular type of asset, you can create items of that design to represent the assets themselves. This involves entering values for the design's attributes, including geographical location.
To learn more, see Creating items.
Asset components
Many types of asset have one or more component parts, which require their own management and maintenance. You can represent these in CausewayOne Asset Management too, by creating distinct component designs and items.
To learn more, see Asset components.
Asset groups
While there are several ways of working with multiple assets, creating an asset group lets you define a specific set of asset items, which you can then reference throughout CausewayOne Asset Management.
To learn more, see Asset groups.