Asset groups
Group related assets together
There are various ways of working with multiple assets in CausewayOne Asset Management . You can select them on the map, or in an item picker, or create a query in the Data Explorer that lists assets matching certain criteria.
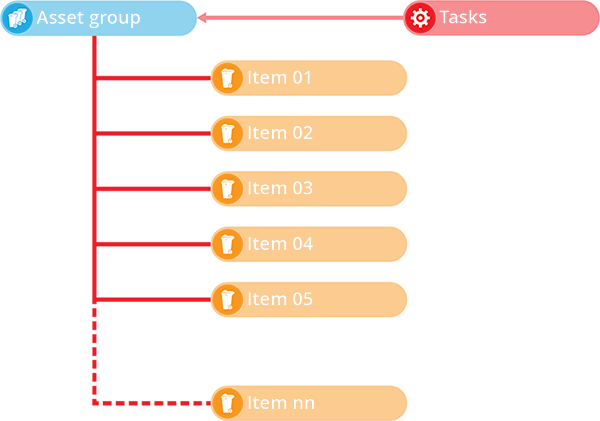
However, an asset group lets you define a specific set of asset items.
This provides a handy reference point that you can use throughout CausewayOne Asset Management to address those assets collectively, e.g. creating a layer to visualise them on the map, creating an activity that applies to them all.
Create an asset group design
To create an asset group, you need at least one design that implements the Asset Groups interface. Some modules contain pre-made ones, e.g. the Waste module contains a Waste Groups design.
If necessary, create one:
-
Create a new custom design. As you finish, the new design will appear in the right panel.
-
In the right panel, use the tab bar to switch to the Interfaces tab.
-
Select More in the action bar, select Add interface, and then choose Asset Groups.
Your custom design now implements the Asset Groups interface, and by extension the Tasks Assignable interface, inheriting attributes from both.

Create an asset group item
To define an asset group, create an item of an asset group design:
-
Open the Designer dashboard card and select Create item.
-
Select the first step of the process.
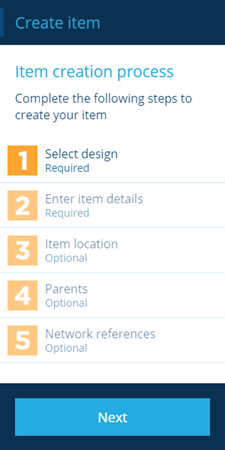
-
Fill in the following fields and then select Next.
-
Design * - choose the asset groups design you want to create an item of.
-
Collection - choose which collection the new item will belong to (usually Live by default).
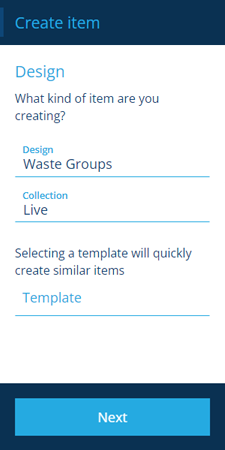
-
-
Select the second step of the process.
-
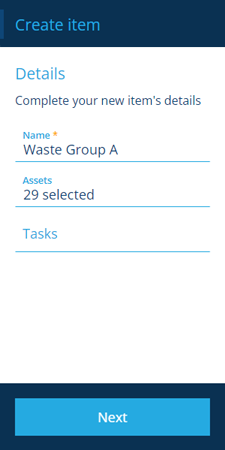
Fill in the following fields, along with any others your chosen design may have, and then select Next.
-
Name * - supply a meaningful name to describe your new asset group.
-
Assets - select the assets you want to group together. Use the search box in the item picker to find assets by keyword, or use the map picker to find assets by location.
-
Tasks - if any existing inspections/jobs apply to your new asset group, you can select them now.
-
-
Complete the remaining steps as necessary. We recommend adding geometry in the third step, so that the asset group can be represented on the map. To learn more, see Creating items.
View an asset group item
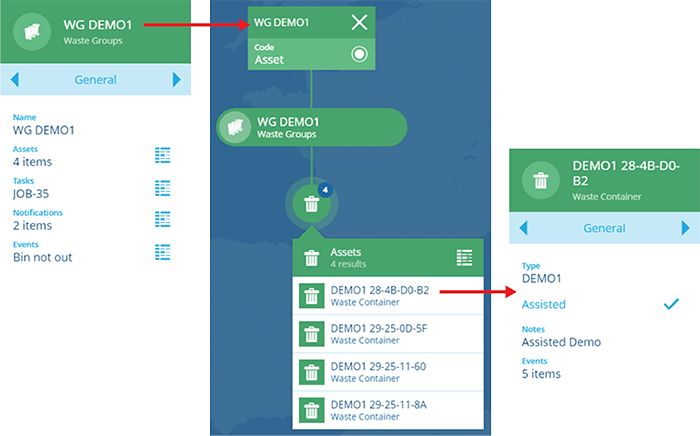
As with all items, you can find and select asset groups to view their details.
To see the contents of a group's Assets attribute, select its icon to list the assets in the Data Explorer.
Alternatively, select the coloured button above the map area to view the group's item graph, where you can then select an asset to view its details in the right panel.