Implementing interfaces
Extend a design by implementing an interface
Similar to a design, an interface defines a set of attributes that collectively describe a category of items, such as a type of asset or task.
However, the purpose of an interface is to be implemented by other designs/interfaces, which will inherit those attributes as if they were their own! In this way, an interface lets you standardise parts of your data model by defining a set of generic attributes that can be shared across many designs (and even other interfaces).
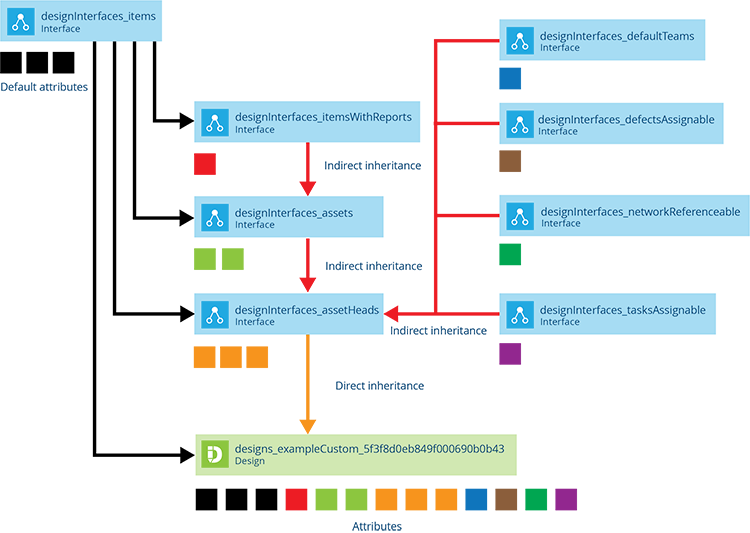
For example, the exampleCustom design illustrated below implements the assetHead interface, so it directly inherits all the attributes from that interface (orange blocks). Additionally, as assetHead implements several interfaces itself, exampleCustom indirectly inherits all of their attributes too!
Use interfaces to group designs
An interface can also serve as a single target for addressing the multiple designs/interfaces that implement it. This is useful when working with things like:
In these scenarios, you can save time and avoid repetition by targeting a single interface rather than multiple designs. It also makes future maintenance easier, as any new designs can be incorporated by simply implementing the target interface.
For example, imagine a Playground Assets interface implemented by two designs named Swings and Slides. A map layer that targets Playground Assets will display both Swings and Slides items. If a Roundabouts design is subsequently created, it can simply implement Playground Assets to be included in that layer.
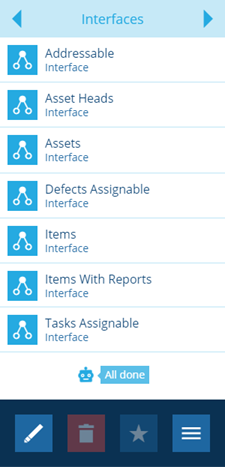
Add an interface
To add an interface to any design/interface:
-
Select the design/interface to view its details in the right panel.
-
In the right panel, use the tab bar to select the Interfaces tab.
-
Select More in the action bar and choose Add interface.
-
Choose the desired interface from the list. Your choice is validated for compatibility. If an error occurs, select the notification for details.
If successful, your chosen interface (and any interfaces it implements) will be added to the Interfaces tab.
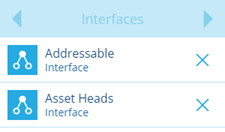
Remove an added interface
To remove an interface that was previously added to a design/interface:
-
Select the design/interface to view its details in the right panel.
-
In the right panel, use the tab bar to select the Interfaces tab.
-
Select Edit in the action bar. Select an interface's Remove button to remove it from the list. Interfaces without one are inherited indirectly, so they can't be removed.
-
Select Save to finish. Your removals are validated for compatibility. If an error occurs, select the notification for details.
If an interface can't be removed, two common reasons are:
-
The design/interface being edited is blueprinted and requires that interface to function.
-
Items exist that contain values for one or more attributes inherited from that interface. You'll need to clear those attributes first or delete the items entirely (see Bulk actions).