Creating an import
Specify the files you want to import
Once you've uploaded your data file(s) to CausewayOne Asset Management, you can create an import item. This lets you specify the file(s) to be imported and performs an initial validation of their contents:
-
Select the Gateway dashboard card and then Create import.
-
Choose the Custom option for all imports other than NSG or NLPG data.
-
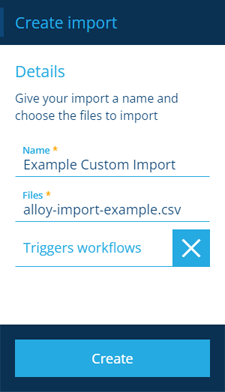
Fill in the following fields:
-
Name * - provide a distinct name that clearly identifies the import.
-
Files * - select the uploaded data file(s) you want to import.
-
Triggers workflows - disable this to prevent the create/edit actions of the import from triggering any event workflows.
-
Send email notifications - if enabled, you will be notified by email when the status of the import changes to Initialised, Validated, Processed or Failed.
-
-
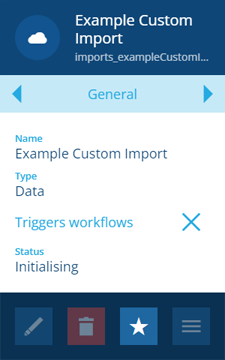
Select Create to finish. Your new import item will appear in the right panel, with its Status set to Initialising.
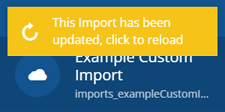
A notification appears when initialisation has finished. Select it to refresh the import's details.
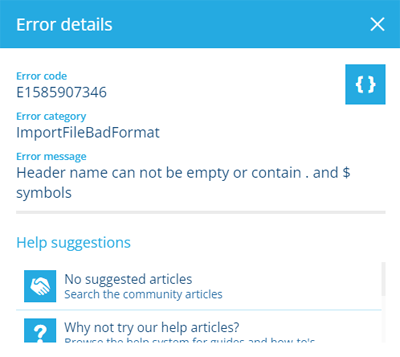
Initialisation errors
If the initial data import fails, the import item will display a red error box.
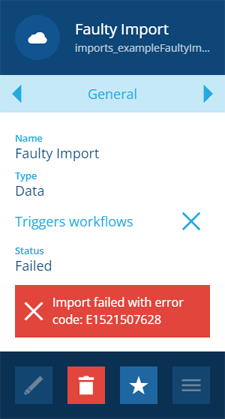
Select the red box to see the error message. Correct the errors in your file(s) before reuploading them and start again.