Creating items
Add data to Asset Management
Items store data. Therefore, creating items is how you add data to CausewayOne Asset Management!
Creating an item lets you store a set of values for the attributes defined by its design. In other words, the design is the concept, and any items created from it are implementations of that concept.
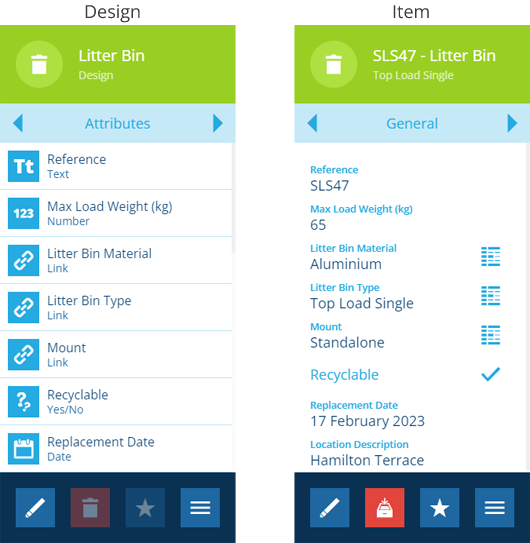
For example, the Litter Bin design below has attributes that describe the characteristics of bins in general. The Litter Bin item beside it contains values for those attributes, which describe an actual bin.
You can't create an item from an interface. However, an item can also be considered an item of the interfaces implemented by its design.
For example, the Contacts design implements the Protected Data interface, so a Contacts item can also be considered a Protected Data item.
Start the process
There are several ways to start creating an item of any design:
Start from the dashboard
Open the Designer dashboard card and select Create item.

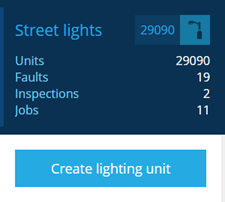
Alternatively, open a dashboard card related to a particular design and select the relevant Create button.
Start from a design
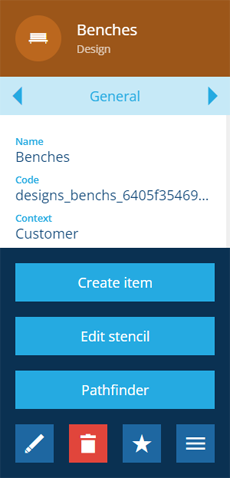
When viewing a design in the right panel, select More at the bottom of the General tab and choose Create item.
Start from search
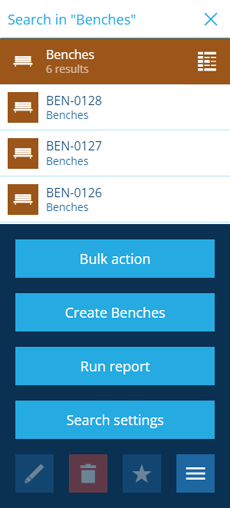
When searching for items of a particular design, select More at the bottom and choose Create.
The item creation process
The key steps of this process will appear in the dashboard panel:
-
1 Select design - required
-
2 Enter item details - required depending on the chosen design
-
3 Item location - required depending on the chosen design
-
4 Parents - optional
-
5 Network references - optional
Fields marked with an asterisk * require a value to continue.
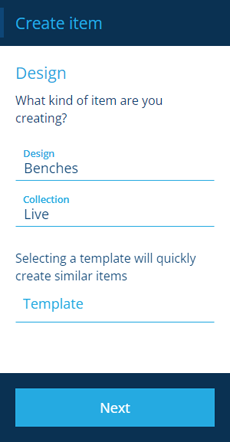
1 Select design
This is a required step. Your choices here will affect the remaining steps of the process:
-
Design * - choose the design you want to create an item of.
-
Collection - choose the collection the new item will belong to (usually Live by default).
-
Template - pre-populate the new item with the values of an existing item. See Template items.
Select Next to choose the next step.
If a design appears dimmed in the list, your user account lacks permission to create items of that design.
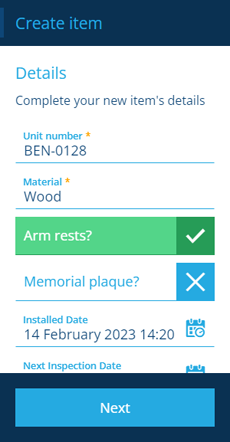
2 Enter item details
Enter values for the attributes of your chosen design. Any required attributes * must contain a value to continue. Some attributes may be pre-populated with a default value.
Select Next to choose the next step.
The order and visibility of attributes may be defined by an item form created by your organisation.
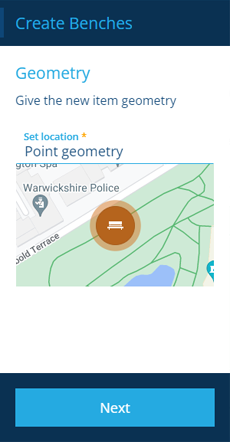
3 Item location
This step is required if your chosen design has Requires geometry enabled.
Select Set location to open the Geometry Editor and draw a point, line or polygon at the current map location.
Select Next to choose the next step.
This step will appear dimmed and unavailable if the item's design doesn't allow geometry.
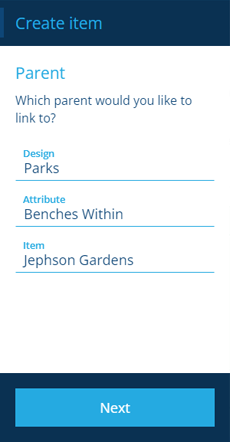
4 Parents
This is an optional step. If an existing item contains a Link attribute that points to items of your chosen design, this lets you add your new item to that item's Link attribute.
For example, imagine a Parks design. It contains a Link attribute named Benches Within that points to the Benches design. You're creating a new Benches item and wish to include it in the Benches Within attribute of a Parks item named "Jephson Gardens".
Select to link to a parent item:
-
Design - choose from the list of designs that contain a corresponding Link attribute.
-
Attribute - after choosing the design, specify the Link attribute to use.
-
Item - after choosing the design, specify which of its items should link to your new item.
Select Next to choose the next step.
This step is particularly useful when creating an item component.
5 Network references
This is an optional step. To add the new item to an established network, you can create a Network References item that links the new item to a relevant Networks item (e.g. a street or premises). To learn more, see Referencing a network.
Select Next to continue.
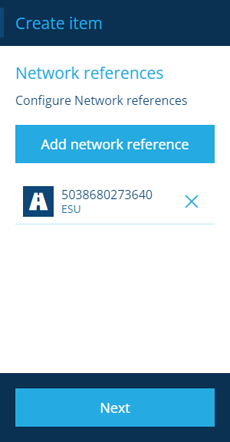
This step will appear dimmed and unavailable if the new item's design doesn't implement the Network Referenceable interface.
Finish the process
After completing the relevant steps for your item, select Create to finish.

A notification will indicate whether the item was created successfully or an error occurred.
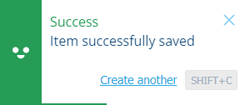
Creating multiple items
To start creating another item that's similar to the first, select Create another in the notification before it disappears. The item creation process will restart with the previous values intact, which you can then change as appropriate for the next new item.
If you need to create many items of a particular design, consider storing the attribute data in a CSV file and importing it into CausewayOne Asset Management using Gateway.
For more complex scenarios, you can build workflows that perform Create Item actions according to various conditions, which can be triggered automatically or on demand.
Specific guidance
For some item types, this process involves additional steps (e.g. defects, inspections, jobs) or entering a particular set of details (e.g. budgets). For specific guidance on how to create these, follow the links below.