Layers panel
The Layers panel lets you manage your layers
The Layers panel provides you with the tools to manage the layers in your company project. It allows you to create and edit custom layers in addition to the system layers included with CausewayOne Asset Management.
The Layers panel allows you to activate layers and its associated styles to display the overlaid data on the map.
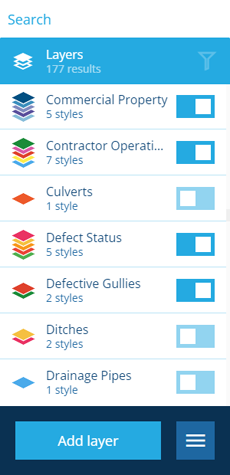
To open the Layers panel, select Layers in the right panel menu.
If you're unable to view or manage layers, your user account may lack the required permissions.
Activate layers
Layers are not active when you first log in to the system. The Layers panel allows you to select the layers that you want to see overlaid on your map.
Open the Layers panel, then use the switch alongside the layer you want to activate.

The order in which layers are displayed on the map is determined by the order in which you turn them on, the first layer is at the bottom and the last layer is at the top.
Where a layer contains one or more styles, then all the styles within the layer are activated. The number of styles within a layer are listed under the name of the layer and the icon indicates one or more styles are present.
Once a layer is active you can activate or deactivate individual styles within the layer by selecting the layer to view all the styles.
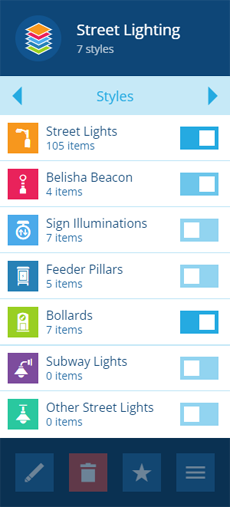
Use the switch alongside the style to either activate or deactivate styles.
The order in which styles are displayed on the map is determined by the order in which they appear in the style list.
Temporary layers
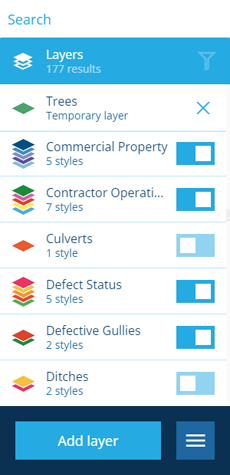
In the Data Explorer, you can use the Show on map action to display query results in a temporary layer. Temporary layers appear at the top of the list and can't be deactivated, only removed. They disappear when your CausewayOne Asset Management session ends.
Clear all active layers
To quickly deactivate all visible layers and clear the map, select More in the action bar and choose Turn off all layers.
This will remove any temporary layers from the list.
Filter the list of layers
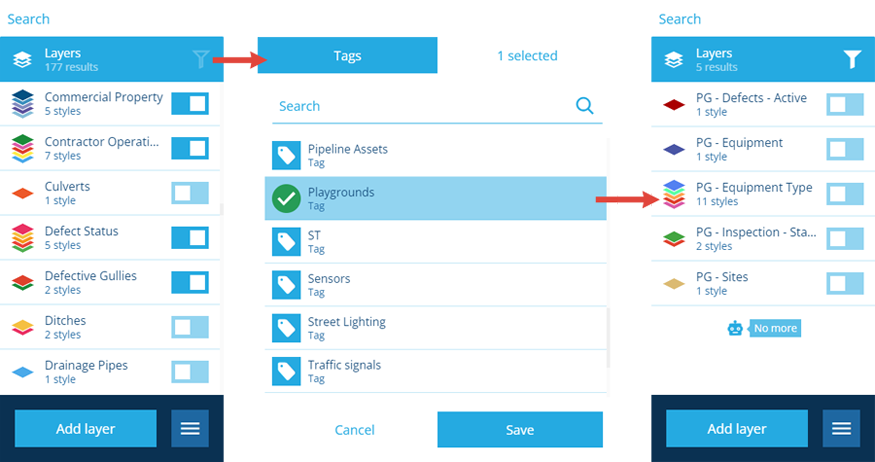
You can use tags to filter the list of layers that are displayed in the panel. To assign tags to layers, see Layer tags.
To filter the list of layers, select Filter in the top-right corner of the Layers panel. Select one or more available tags and then select Save. The Filter button will change to indicate that the list is being filtered.
Temporary layers are always listed, regardless of any filtering.