Creating a network item
How to create a network item
Overview
A network is defined by network items associated with it and can represent an area of responsibility, for example a transport system, roads or railways. This then allows you to reference assets to the network.
Creating a network item
To create a network item use the following procedure:
-
From the dashboard select the Designer module.
-
Select Create item, the Item creation process page is displayed on the left.
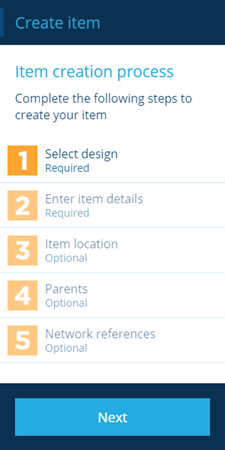
Depending on the design, some steps may be optional. For items that have geometry see Geometry types.
- Select step 1, the Design selection page is displayed. Select the network design that you want to create the item for.
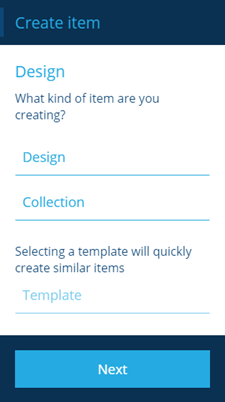
Use the following fields to define the item:
-
Design - Select this field to display a dialog that allows you to select a network design.
-
Collection - Select this field to display a dialog that allows you to select the collection that the item belongs to. The list of available collections is dependent on the design that you selected and includes one or all of the following collections:
- Live
- Archive
- Template
- Inventory
-
Template - When you select this field a dialog displays the list of available template items associated with the selected design. This field is only available for designs that support templates and if template items already exist.
-
When you have completed all the necessary fields, select Next and move to the next step.
-
The first step of the process indicates that it is complete.
Adding an item location
To add a location (geometry) use the following procedure:
- Select step 3, the Geometry page is displayed.
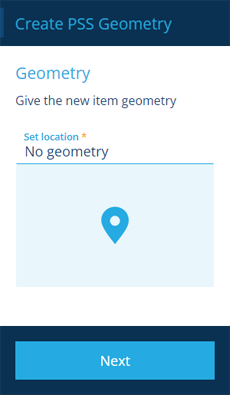
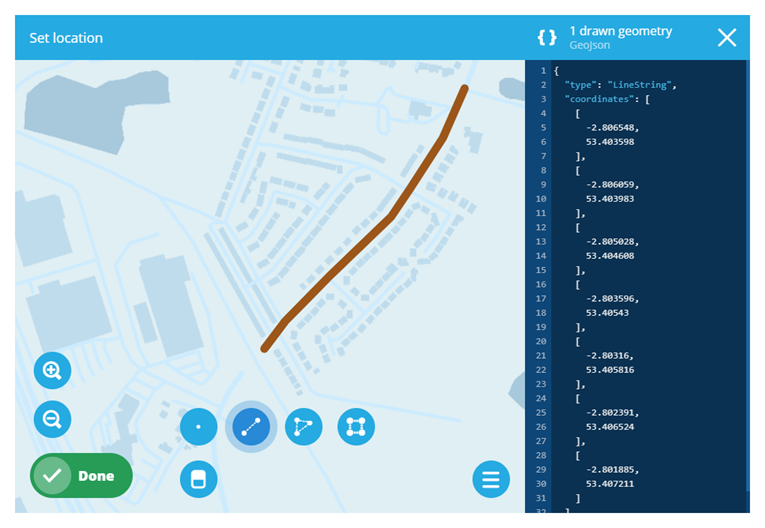
- Select the editor button to display the Geometry Editor. The drawing tools at the bottom of the editor indicate the type of geometries that are available, which you can use to place the item on the map. See Geometry types.
-
When you have completed placing the item on the map and closed the Geometry Editor, select Next. The third step of the process indicates that it is complete.
-
When you have completed all the required steps for the item that you are creating, select Next. A notification is displayed to indicate that the item was created successfully.
The steps described above are the minimum that you are required to complete to create a network item. Depending on the structure of your network design you can use step 2 to enter additional details for each item.
You can repeat the whole procedure to create all the items that make up the network.