Creating groups
Create a new group
Admins can create any number of permission groups. While the included system groups cover the essentials, new groups will be needed to control access to the custom designs/interfaces created by your organisation.
Additionally, you may want to create groups with more granular permissions, e.g. a Jobs Editor group that grants permission to view, create and edit jobs but not delete them. For more advice, see Planning your permissions.
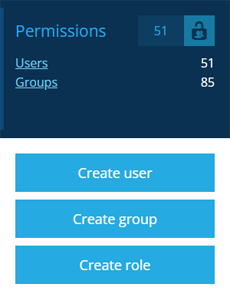
To start creating a group, open the Permissions dashboard card and select Create group.
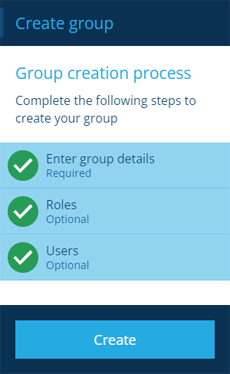
The group creation process
The key steps of this process will appear in the dashboard panel:
-
1 Enter group details - required
-
2 Roles - optional
-
3 Users - optional
Fields marked with an asterisk * require a value to continue.
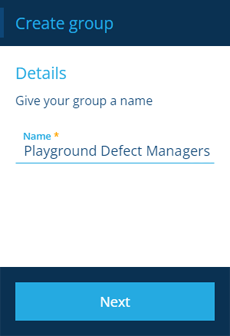
1 Enter group details
This is a required step. Supply a distinct Name for the new group.
Select Next to choose the next step.
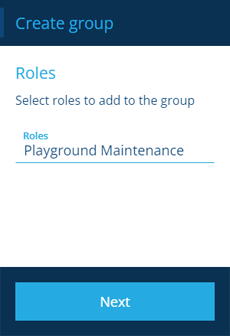
2 Roles
This is an optional step. Select the Roles that will inherit the new group's permissions. If you're unsure, these can be added or removed later by editing the group.
Select Next to choose the next step.
3 Users
This is an optional step. Select the Users that will inherit permissions directly from this new group.
We recommend assigning users to roles where possible (even if it means having a role with just one group). This builds in flexibility that'll make permissions management easier going forward.
Select Next to choose the next step.

Finish the process
After completing the relevant steps for your group, select Create to finish. A notification indicates whether the group was created successfully or an error occurred.
Set group permissions
To set the permissions of your new group:
-
Select the group to view its details in the right panel.
-
Select More in the action bar and choose Permissions.
-
Use the Permissions Manager to add and configure permissions on the group. We recommend keeping groups minimal and modular, so they can be reused across multiple roles.