Permissions Manager
Configure group permissions
Admins can use the Permissions Manager to define the permissions of any custom group:
-
Open the Permissions dashboard card and select Groups.
-
In the right panel, select a group from the search results to view its details.
-
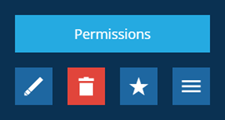
Select More in the action bar and choose Permissions.
Admins can also use the Permissions Manager to view (but not edit) the preconfigured permissions of a system group and the permissions inherited by a role.
Key features

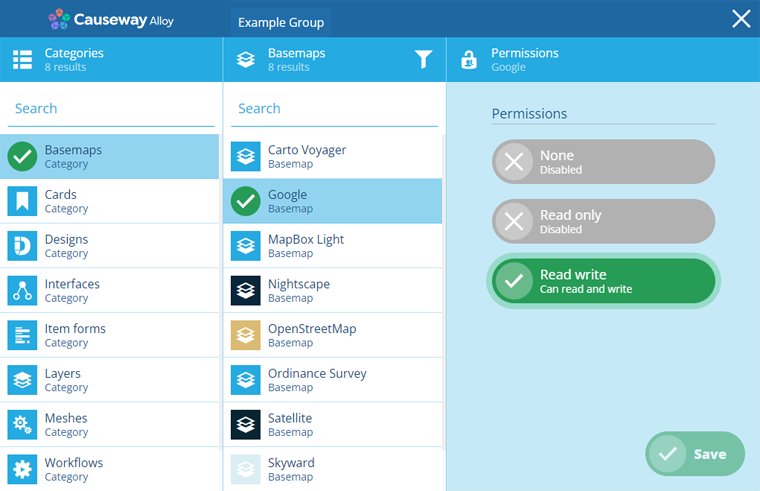
1 Group name
The group you're configuring is displayed at the top. Any permissions set will affect all users of this group, whether they're assigned to it directly, or assigned to a role that inherits the group's permissions.
2 Categories column
This column lists the available data categories. Select a category to list its objects in the Objects column.
Where possible, we recommend configuring as few categories as possible in a single group. This will reduce potential complications and provide greater flexibility going forward, as you can use roles to combine permissions from multiple groups.
Category article links
If you're unfamiliar with any data categories, follow the links below to visit their help articles.
- Basemaps
- Cards
- Designs
- Interfaces
- Item forms
- Layers
- Meshes (3rd party integrations included with modules)
- Workflows
3 Objects column
This column lists the objects in the selected data category for your company database. To filter the list by one or more keywords, use the top search box.
To only see objects with permissions set, select Filter and choose one of the following:
-
All - display all objects.
-
With permissions (designs/interfaces only) - display only objects with permissions set directly or inherited from an implemented interface.
-
With permission overrides - display only objects with permissions set directly.
Select an object to show its permission settings in the Permissions column.
4 Attributes column
This column only appears if a design or interface is selected in the Objects column. To filter the list by one or more keywords, use the top search box.
Attributes can have default permissions set on their design (or inherited from an implemented interface). You can also set permissions on individual attributes.
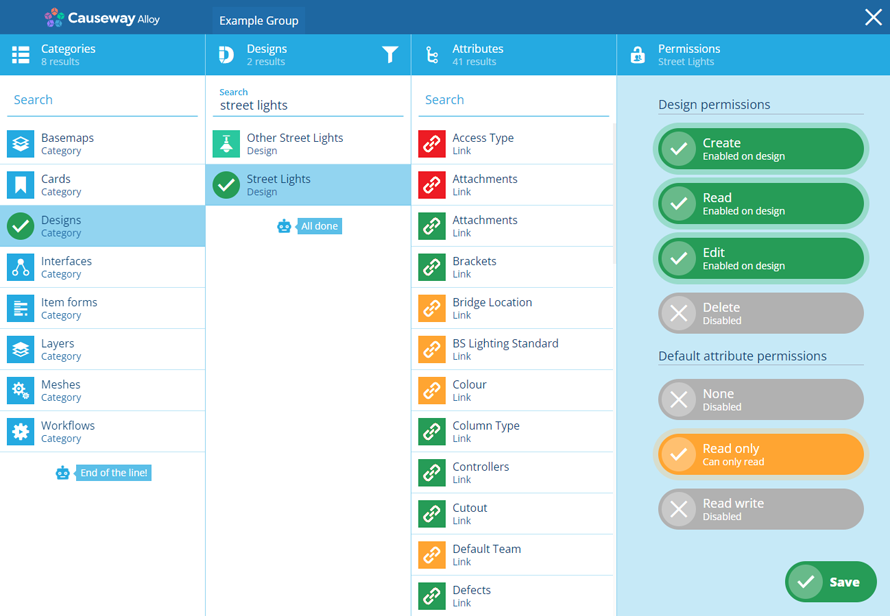
The colour of an attribute's icon indicates its permission status:
-
Not set - no permission is currently set.
-
None - the attribute is hidden from users of this group.
-
Read only - the attribute can be read by users of this group.
-
Read write - the attribute can be read and edited by users of this group.
Greater permissions take precedence over lesser permissions, e.g. if a user belongs to a role with two groups, where one group grants Read only to an object and the other grants Read write, the user will receive Read write access.
Select an attribute to show its permission settings in the Permissions column.
You can also use stencils and item forms to control which attributes are visible and editable. However, permissions always take precedence!
5 Permissions column
This column displays the permission settings of the selected object or attribute. For most categories, you can set one of three permission types on the object. The default is None.
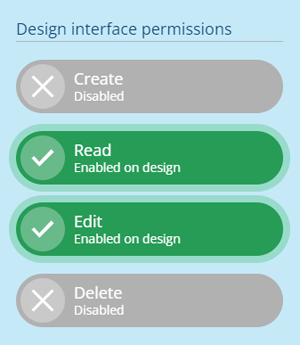
If a design or interface is selected, the permissions are more granular and you can select one or more of them. To learn more, see Group permissions for designs and Group permissions for interfaces.
6 Save button
When you're finished, select Save to save your changes and close the Permissions Manager. To leave without saving, select in the top-right corner.