Creating roles
Create a new role
Admins can create any number of roles to represent the positions and responsibilities in your organisation.
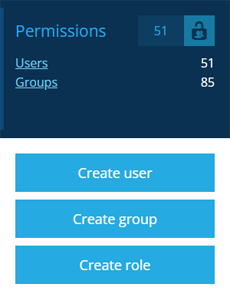
To start creating a role, open the Permissions dashboard card and select Create role.
The group creation process
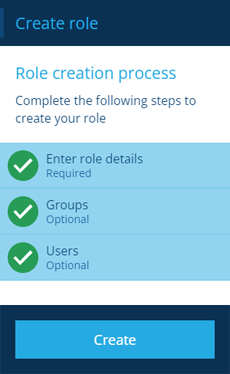
The key steps of this process will appear in the dashboard panel:
-
1 Enter role details - required
-
2 Groups - optional
-
3 Users - optional
Fields marked with an asterisk * require a value to continue.
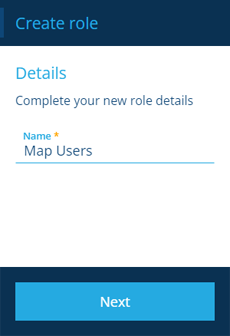
1 Enter role details
This is a required step. Supply a distinct Name for the new role.
Select Next to choose the next step.
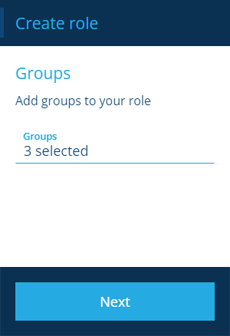
2 Groups
This is an optional step. Select the Groups that the new role will inherit permissions from. If you're unsure, these can be added or removed later by editing the role.
All roles should be assigned to the Core Viewers group. For other recommendations for basic use, see System groups.
Select Next to choose the next step.
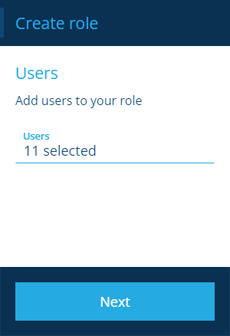
3 Users
This is an optional step. Select the Users that will inherit the combined permissions from the new role. If you're unsure, these can be added or removed later by editing the role.
Select Next to choose the next step.
Finish the process
After completing the relevant steps for your role, select Create to finish. A notification indicates whether the role was created successfully or an error occurred.