Creating users
Create an account for a new user
Admins can create accounts for new users without needing to contact Support. This is a quick process that requires just a valid email address:
-
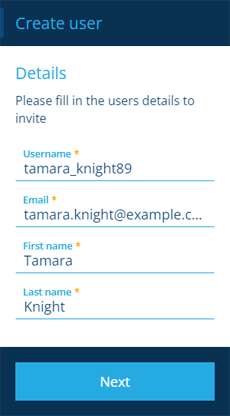
Open the Permissions dashboard card and select Create user.
-
In the dashboard panel, fill in the following fields, and then select Next:
-
Username * - enter a unique username. It can contain lowercase letters, numbers, hyphens and underscores.
-
Email * - enter a unique, valid email address. The user will need to respond to a verification email.
-
First name *
-
Last name *
-
-
Choose one of the following options.
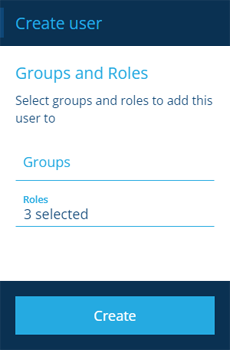
Set custom - assign the new user to groups and roles
Select the Groups and/or Roles that you want the new user to inherit permissions from.
We recommend adding users to roles where possible (even if it means having a role with just one group). This builds in flexibility that'll make permissions management easier going forward.
If you plan to add these later, you can proceed without selecting anything. But remember, the new user won't have permission to do anything until then!
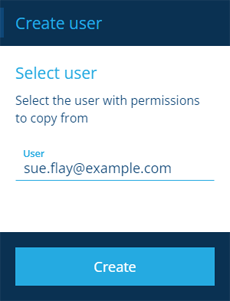
Copy from existing user - assign them to the same groups/roles as someone else
Select the User you want to copy. The new user will be assigned to the same groups/roles as them.
-
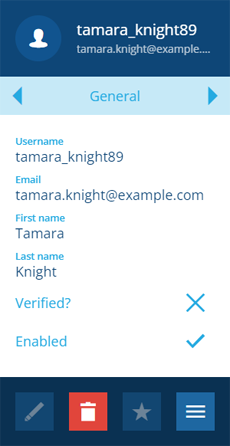
Select Create to finish. The new user's details will appear in the right panel.
The number of users you can create depends on your organisation's product. For more information, contact Support.
User verification
Before the new user can sign in, they must verify their email address. When a user is created, an email is sent to the supplied address. It contains a link for them to follow, which will validate their account and let them set a password.