Defining a bounding box
How to set the bounding box of a Map control
When you're configuring a Map control, you can optionally set the bounding box (the area of the map displayed by the control).
By default, the bounding box of a Map control is calculated automatically whenever the report is run, so that all the items from its data source are visible in the generated report.
However, you can override this with geometry from another data source, or by defining the bounding box manually.
If any items from the Map control's data source are located outside the bounding box you set, they won't be visible in the generated report!
Set the bounding box
To set the bounding box of a Map control, select the pill shape inside the control's top-left corner:
Static box
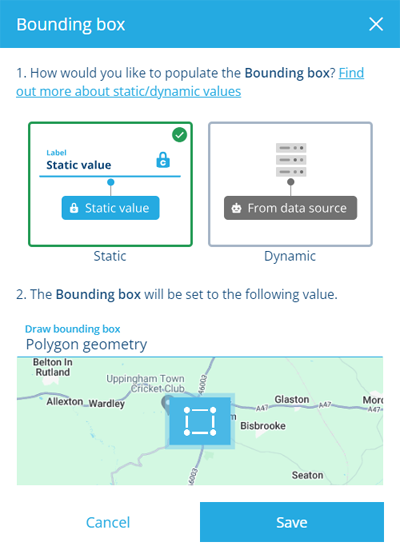
In the window that appears:
-
Select Static and then the Draw bounding box field.
-
Draw a box in the Bounding Box Editor. Select Done to save and close the editor.
-
Select Save to finish.
Dynamic box
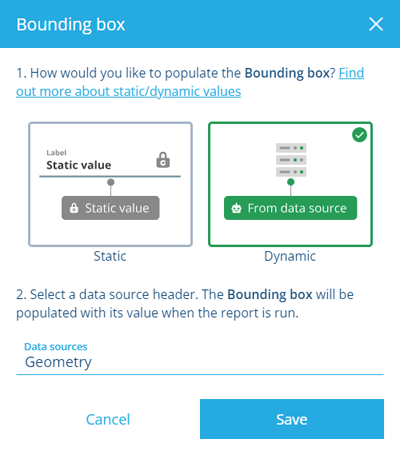
In the window that appears:
-
Select Dynamic and then the Data sources field.
-
Select beside a data source to browse its headers. To go back, select Data sources at the top.
-
Choose the header containing the geometry data you want to use.
-
Select Save to finish.
Understanding the Bounding Box Editor
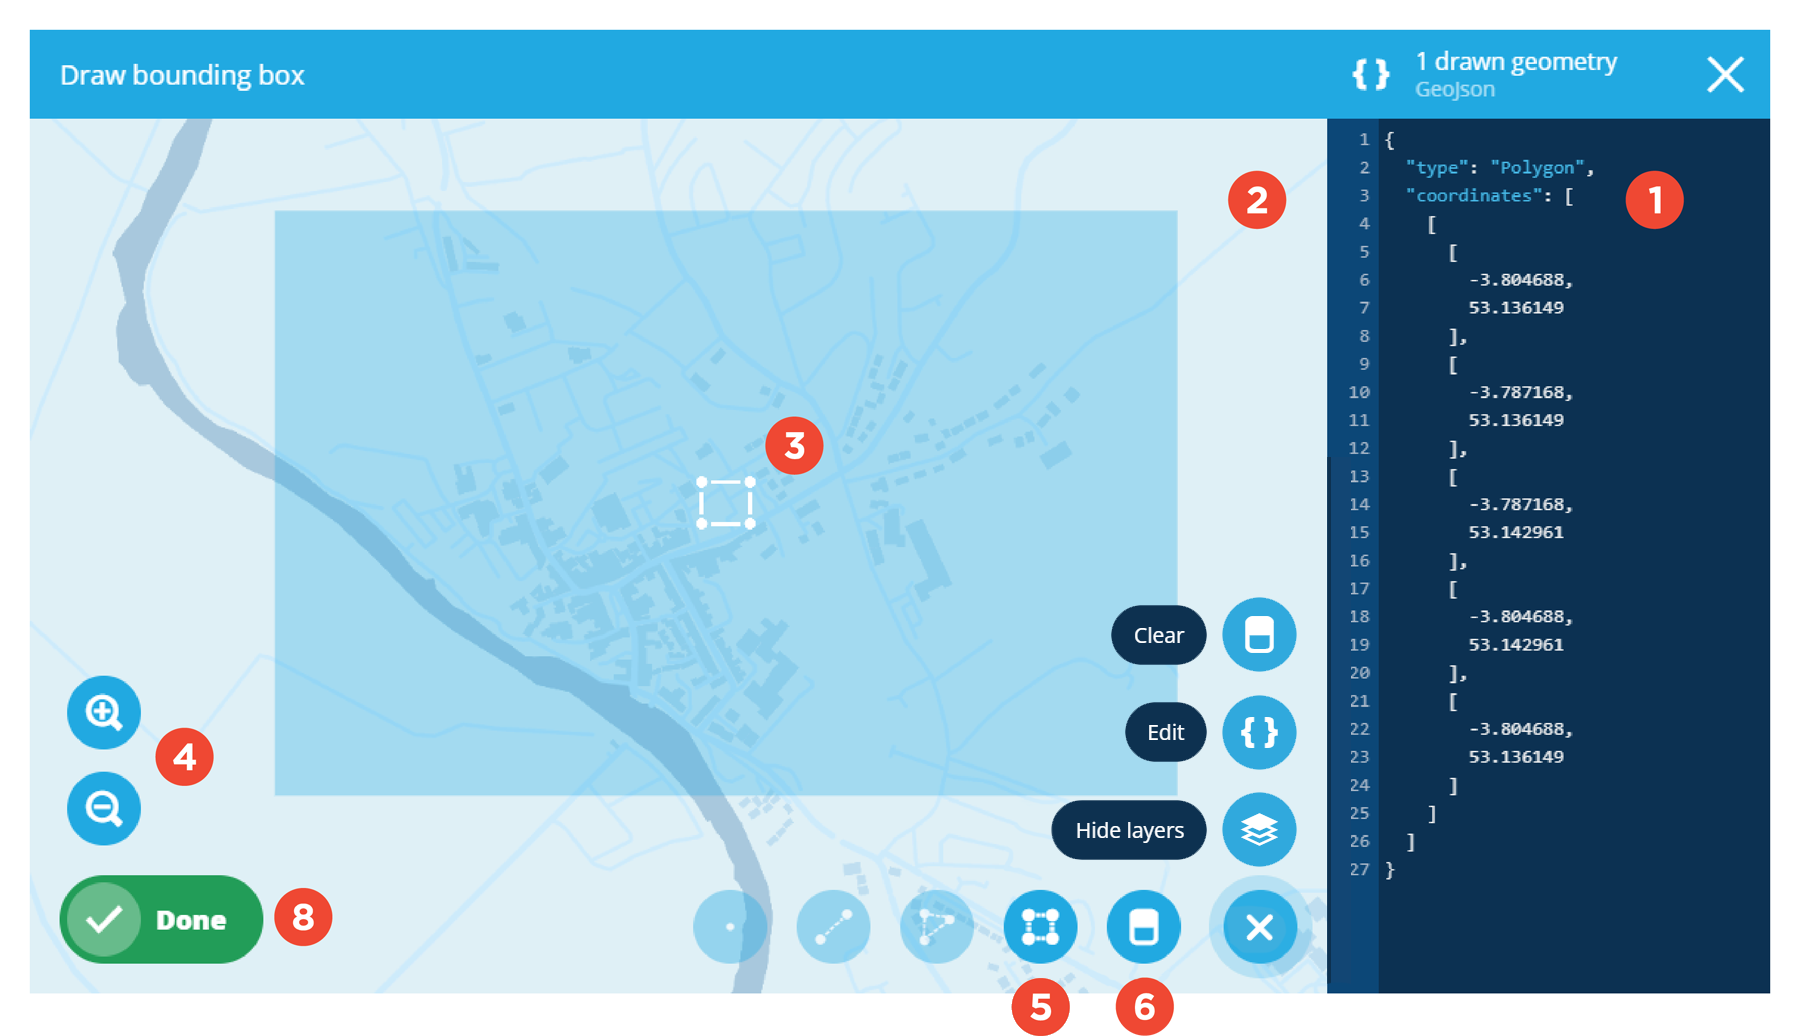
1 GeoJSON panel
This panel displays the coordinates of the current bounding box in GeoJSON format. You may wish to copy the code for use elsewhere.
To edit the code directly, select Menu and choose Edit.
2 Map
This uses the same basemap as the main map and initially shows the same area. Drag the map to pan around it.
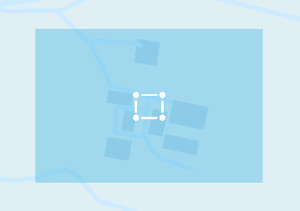
3 Bounding box
The current bounding box appears as a translucent purple box.
4 Map tools
Use these to zoom in and out of the map. Alternatively, use the scroll wheel on your mouse.
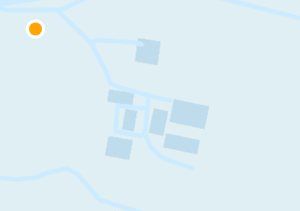
5 Draw box tool
To draw a boundary box:
-
Select the tool and then hover over the map. An orange dot will indicate your position.
-
Select a point on the map and then move diagonally to start drawing the box.
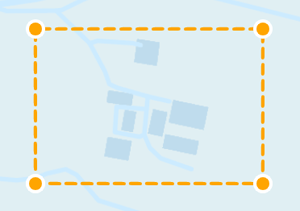
-
When the box looks right, select again to finish drawing.
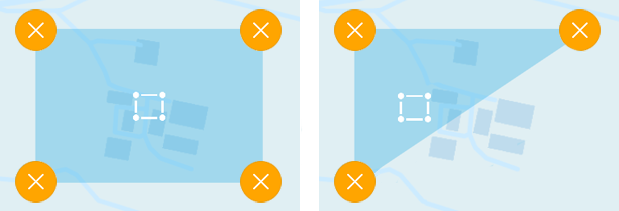
6 Remove Geometry tool
To remove a corner of the current bounding box, select the tool, and then select as desired.
7 Menu actions
For more actions, select Menu in the bottom-right corner:
-
Clear - remove all geometry points.
-
Edit - edit the code in the GeoJSON panel. Tweak the current coordinates or paste in code from elsewhere.
-
Show/hide layers - show the items of layers that are currently enabled on the main map.
8 Done button
To save your changes, select Done, and then select Save in the next window. To leave without saving, select in the top-right corner.