Building a workflow
Define a sequence of actions
Once you've created a workflow, you can build a sequence of actions for it to perform when triggered. Select the workflow to view its details and then select Edit in the action bar.
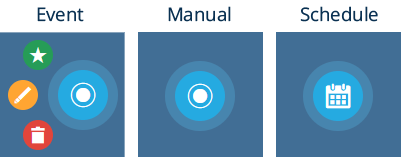
New workflows start out with just their root node.
Add an action
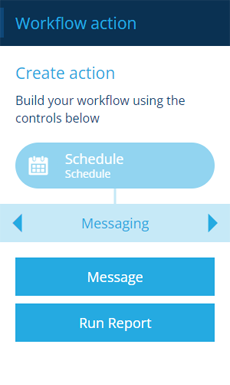
To add an action node to the sequence:
-
Select the preceding node that you want to build from. This can be the root node or another action node.
-
Select the Add action button that appears beside it.

-
Choose an action in the dashboard panel. Use the tab bar to switch between the different categories. The actions available depend on the output of the preceding node, see Actions.
-
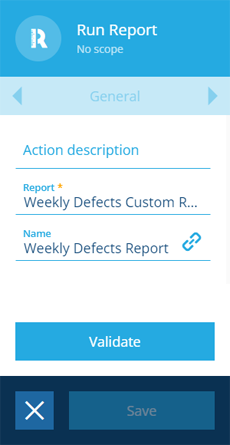
Configure the new action's attributes in the right panel. Fill in the displayed fields as needed. Those marked with an asterisk * require a value to continue. Select Validate and then Save to finish.
infoFields marked with can accept a dynamic value.

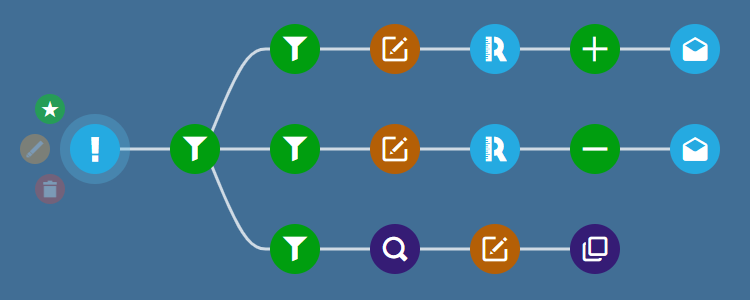
Create a branch
You can continue adding actions to the latest node in the sequence.

You can also select any other node in the sequence and build a new branch from that!
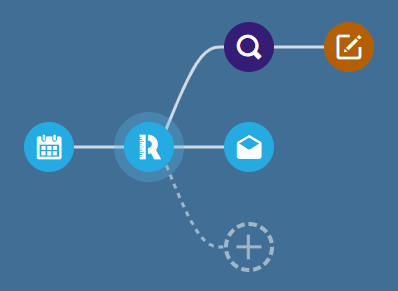
Nodes can have any number of branches...
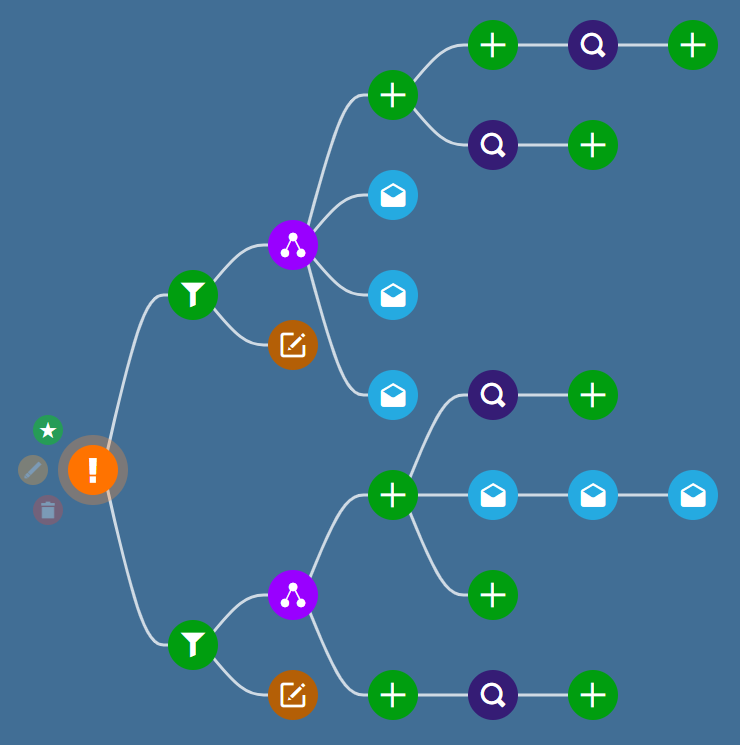
Branch execution
Branches are effectively executed simultaneously, rather than the order they appear. However, if a branch depends on the output of an action from another branch, the process will pause until that output is available.
By using actions creatively, it's possible to implement some conditional logic.
For example, imagine an event workflow with multiple branches. To make the branches conditional, each branch starts with a Filter action that requires a specific value for a specific attribute. When an item triggers the workflow, the value it holds for that attribute determines which branch is executed.
Delete an action
To delete an action, and any actions that branch off from it, select the action to view its details and then select Delete in the action bar. If an error notification appears, it may be because another action is linked to the action's output.
Deletions can't be undone, so please think carefully before doing so!
Enable the workflow
All workflows are created in a disabled state, to prevent any accidental triggering while you're building them!
When the workflow is ready to use:
-
Select the root node to view its details in the right panel.
-
Select Edit in the action bar.
-
Set the workflow's Enabled field and then select Save.
Repeat this to disable the workflow at any point.