Event workflows
Trigger when items change
Use event workflows to respond to data changes. An event workflow can be configured to trigger when an item of a specific design/interface is created, updated or deleted.
If you're unable to create a workflow, your user account may lack the required permissions.
Create an event workflow
To create an event workflow:
-
Open the Workflows dashboard card, select Create workflow and choose Event.
-
Fill in the following fields as needed, then select Next:
-
Design or interface * - choose the design/interface that will be monitored for changes. This acts as the top-level filter for the workflow. To further refine the scope, you can add Filter actions when building the workflow.
-
Collections - select the collection(s) that will be monitored for changes.
-
Listen on create - if enabled, the workflow will trigger when an item of the design/interface is created.
-
Listen on update - if enabled, the workflow will trigger when an item of the design/interface is updated.
-
Attribute - if Listen on update is enabled, you can restrict it to one or more of the item's attributes. Only the selected attributes will trigger the workflow if they're updated.
-
Listen on delete - if enabled, the workflow will trigger when an item of the design/interface is deleted.

-
-
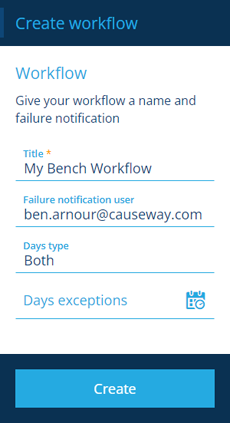
Fill in the following fields as needed, then select Create to finish:
-
Title * - enter a distinct title that clearly identifies the workflow.
-
Failure notification user - nominate a user in your company project to be emailed if the workflow fails.
-
Days type - restrict the workflow to trigger only on working days, non-working days, or both (default).
-
Days exceptions - specify date ranges when the workflow shouldn't be triggered. You can exclude up to, and after, a certain date.
-
Build the workflow
Once you've created your workflow, you can start to build the sequence of actions that you want it to perform.